-

- Forums
- Chatrooms
- Gallery
- Gameplay Videos
- Upload
- Articles
- Mod Reviews
- Shop SP: Games, Movies, Books
|
|
| Pillars of Eternity 2 Video-Based Walkthrough by David Milward |
Queen's Berth
*Evil* Ship Upgrades
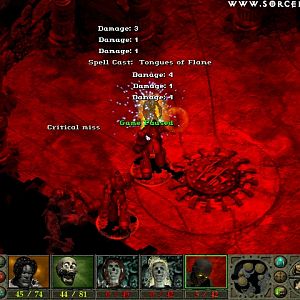
I make my way back to Neketaka at #17, and attack a Vailian Master Captain. I try the long distance approach again. I was cutting it close. Partly because I misjudged a couple of times whether to Hold Position, when I thought the enemy crew would be too occupied with Sail Fires or Floodings to fire back. But then at one point I manage to inflict, in addition to a Cargo Knocked Loose beforehand, both Flooding and a Crew Member Knocked Overboard. And those conditions together have whittled down the enemy crew substantially, and have completely paralyzed the enemy ship. I add another volley of Grapeshot to take out more of the Above-Deck Crew and then close in for boarding. I have a decidedly easier time against just four enemy crew members.
I wait until Morning (so that I can soon enter the Vailian Company Headquarters) and then Dock. I embark on an extensive transaction with the Supply Store for Neketaka. Part of it will be purchases. That includes refilling my Supplies. I also purchase the Captain's Quarters, the Menagerie, a Living Steel Anchor and a Lurker Helm and Rudder for my ship. I also sell off my excess loot.
*Good* The good party also purchases the Captain's Quarters and the Menagerie. The slight difference is that they purchase the Ymyran Steel Anchor and Ymyran Steel Helm. Those upgrades are functionally equivalent, but the choice is more thematic than anything else.
I enter Queen's Berth. I equip Tekehu with a spare Physicker's Belt that I found from a Burial Site on Tikawara Island. It's useful to him to enhance his healing spells, although it will not ultimately be his belt by the end of the game.
Aloth takes Shadow Step with his 11th level-up. It will enhance his Escape ability in that he'll go Invisible and thus be able to use Backstab on his next attack, but that next attack will now also Paralyze. And that can mean Paralysis on multiple targets should he have Kalakoth's Minor Blights in place as his primary weapon.
Eder takes Adept Evasion with his 11th level-up. It reduces any Graze on an attack against his Reflexes to a Miss.
I bring along Serafen, Maia, Rekke and Konstanten for now.
*Evil* Terms of Trade
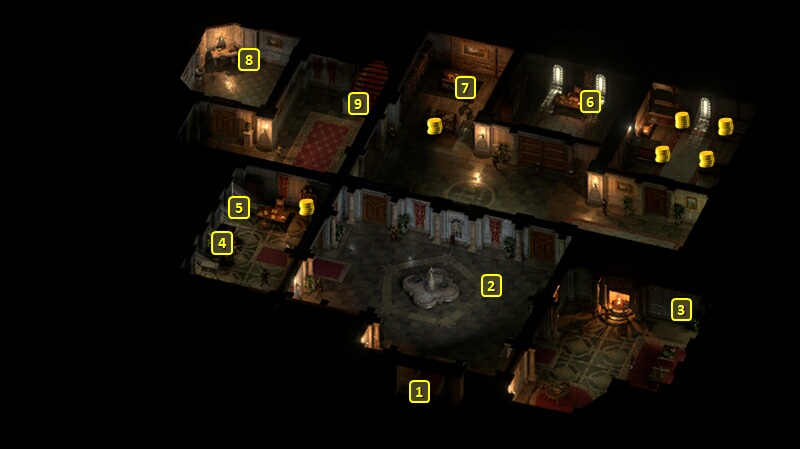
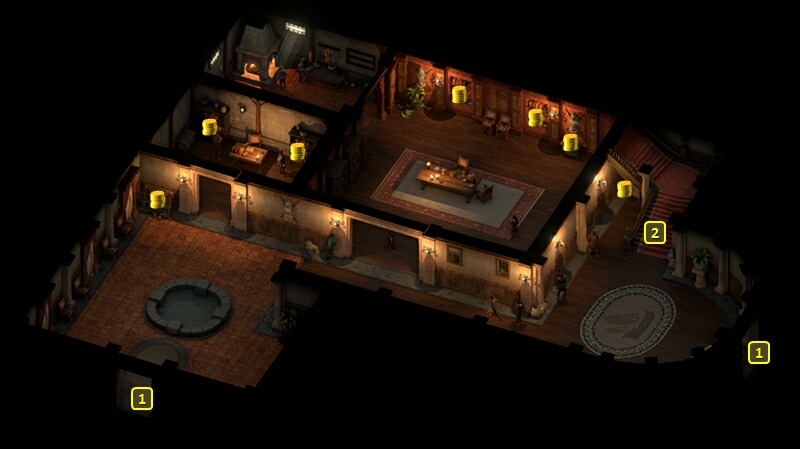
I enter the Headquarters of the Vailian Trading Company at #28.
I begin at the door at #1 on the map of the first floor of the Headquarters. I speak to Lueva Alvari at #6. She in turn brings me to a meeting with Director Castol.
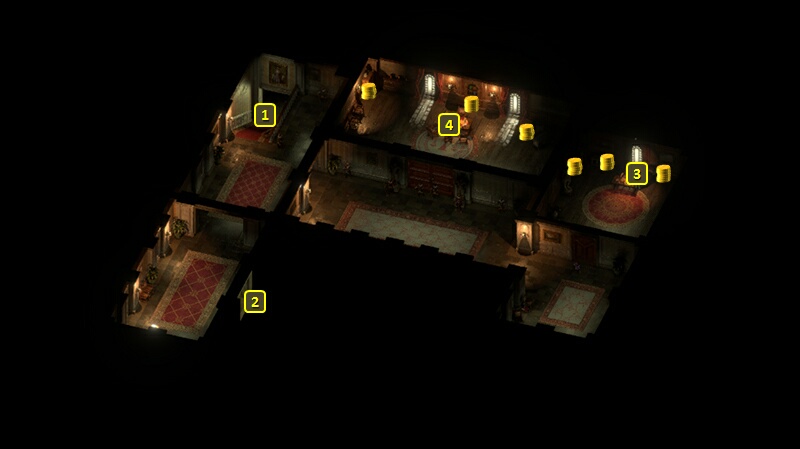
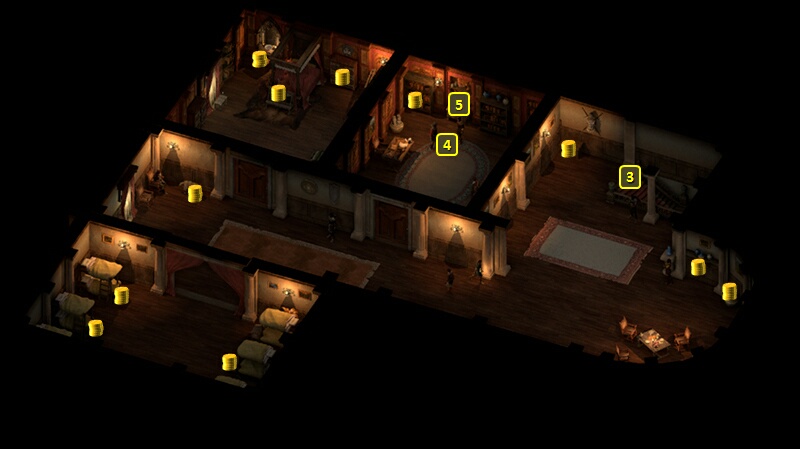
Which takes place in the room at #4 on the map of the second floor of the Headquarters. I don't score any positive reputation with the Vailian Trading Company, as I had destroyed the Adra Pillar at Poko Kohara. I get 1,700cp and 1,000xp as reward for completing the Terms of Trade Quest. He also tells me to see Flaune Elette in the Spire of Soul Seers, which starts the Quest called A Glimpse Beyond.
I go down the stairs at #1 on the map of the second floor, which brings me to the stairs at #9 on the map of the main floor. And from there I return to Queen's Berth.
Serafen gets two abilities on his 11th level-up. One of them is Improved Critical. Improving Critical Hit Damage by 15% is always a good thing for a melee character.
The other is Brute Force. This passive means that melee attacks will target the Fortitude Defense instead of Deflection if the former is lower than the latter. And that can come into play quite often, especially if the Barbarian himself has methods to force the reduction of Fortitude. Serafen will get one of them through Panther's Leap, which can force the Dazed (-5 Might, cannot Engage, -4 Penetration) Affliction on its target. The other will be through a weapon that he acquires later in the game.
Maia takes Strengthened Bond on her 11th level-up. It raises the bonus to Defenses vs. area-of-effect attacks from +10 to +15.
Terms of Trade
I bring in Ydwin, Fassina, Rekke and Konstanten as the sidekicks with the least amount of xp.
Director Castol is considerably more positive towards the good party for the obvious reason of the Adra Pillar being restored instead of destroyed. That results in a major gain of positive reputation with the Vailian Trading Company. I thereafter leave the headquarters.
Mapping the Archipelago: Tikawara
Now I go to speak to Sanza in his Map Emporium at #20 on the map of Queen's Berth. I get 15,000xp and 2,500cp for completing the Quest called Mapping the Archipelago: Tikawara. He gives me a new Quest, Mapping the Archipelago: West Wakara Reef.
Fassina takes Greater Wildstrike Corrode on her 11th level-up. It will add +25% Corrosive Damage when she spiritshifts into Wolf form.
Ydwin takes Adept Evasion on her 11th level-up. Any attacks that target Reflexes and Graze will get reduced to a Miss.
I leave and go to the east exit at #22, and put my core party back together.
*Evil* Mapping the Archipelago: Tikawara
Konstanten gets two abilities on his 11th level-up. One of them is So Singt Biting Winds o' Eld Nary. It's an Offensive Invocation that inflicts both Freezing Damage and -50% Stride on its initial target, and then jumps to multiple targets.
The other is Improved Critical. Improving Critical Hit Damage by 15% is always a good thing for a melee character, and especially for a character build where you have incentives to maximize the frequency with which he scores Critical Hits.
Rekke gets Bloody Slaughter on his 11th level-up. It's a passive that provides a 20% chance of converting Hits to Critical Hits and +50% Critical Hit Damage, both against Near Death targets.
Zarathos gets Barbaric Blow on his 12th level-up. It's a Full Attack with +20% Damage, +50% Damage on Critical Hit, a 30% chance of converting a Hit to a Critical Hit, and a +50% area of effect for Carnage. Any concerns about expending Rage points can be mitigated when it gets upgraded to Barbaric Smash. He gets it now because I wanted other abilities first.
Salt in the Wound
I speak to Nera Bardatto at #16. She would like me to find her brother, Larro. The conversation starts the Salt in the Wound Task.
Larro Bardatto is about to get into a duel with Orso Valera at #19. There's numerous ways to handle it. Telling them that a duel is not the way to handle things will result in a small loss of reputation with the Vailian Trading Company, but will not otherwise restrict your options for resolving the conflict.
There are ways to disperse the crowd and prevent a duel from taking place:
*Evil* Salt in the Wound
You can also bet 10cp on either Larro or Orso before the duel itself starts. If you lose the bet, you lose the 10cp. If you win the bet, you get 100cp. Keep in mind that the very action of placing a bet will result in a small hit of reputation with the Vailian Trading Company. Zarathos places a bet on Larro, because he'll get even a little more money if it's Larro who survives.
Zarathos also makes a Watcher-only Streetwise check of 2, and a Watcher-only Insight check of 2, as a set up.
If the duel is to the death, the victor will be Orso if you either helped him or let the duel run its course without any interference. Larro will win only if you run interference on his behalf.
Having made a Streetwise check of 2 gives Zarathos the option to trip either Larro or Orso to ensure that the other wins the duel. He makes an Insight check of 2 to taunt Orso (he could have done the same to Larro) to ensure that Larro wins the duel.
Note that using any of these interferences will result in a small hit in reputation with the Vailian Trading Company. Larro gives Zarathos 100cp as winnings.
Larro will win only if you interfered on his behalf. Had Zarathos persuaded them to a first blood duel, which he had not, he would have had three choices:
Ezzali Bardatto
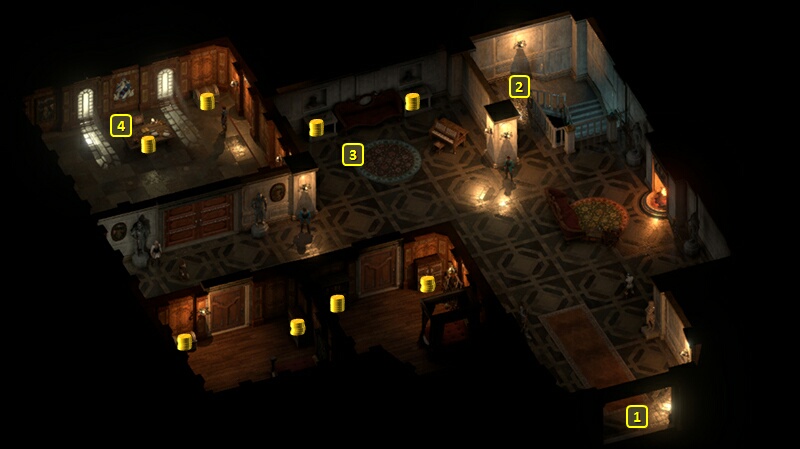
I start off at #1 on the map of the Bardatto Estate. Nera at #3 rewards me with 800cp for keeping Larro alive.
I speak to Ezzali Bardatto at #4. She rewards me with 1,000cp for keeping Larro alive. She also wants me to find out what the rival Valera family are up to. The conversation starts the Task called A Sinking Feeling.
Pallegina speaks to Alliria as I make to leave the estate. She wants to avoid the rival families wiping each other out. I choose the Diplomatic option to score reputation with Pallegina, and then leave out the door.
Shrimp
Doors marked #13 lead to the Valera Estate.
That brings me to a door marked #1 on the map of the main floor of the Valera Estate. I collect some items from the containers, and then go up the stairs at #2.
That brings me to the stairs at #3 on the map of the upper floor.
I speak to Atello and Martino Valera at #4. Martino hires me to deal with a Rauataian crew that's denting the reputation of Valera ship hunters. The conversation starts the Quest called A Bigger Fish. I leave and return to Queen's Berth the way I came.
I am back at one of the doors marked #13. I go to the door at #25. The Rauataian crew led by Shrimp will now be near it. I choose the option to attack him, as it will be more beneficial. The fight won't be difficult by now. Shrimp himself leaves behind the Ring of the Marksman. Mirke uses it for the rest of the game, as it provides +4 Accuracy and +1 Penetration with Ranged Weapons.
I could now return to Martino and speak to him to complete the Quest. But I choose not to, and for a particular reason. Note that completing the Quest begins running the clock for a heist on the Bardatto Vault that Martino has planned. The heist will be set in motion in about three days. Allowing that three days to elapse without any efforts to bring the families together can limit my options for the Family Pride Quest.
The Quest called A Sinking Feeling can be completed during those three days, but not after they have passed. I leave my options open for now.
*Evil* Shrimp
Ydwin gets the Ring of the Marksman in the evil party. She's the natural choice for the ring as she uses ranged weapons exclusively. And more Accuracy on her ranged weapon attacks means she'll gain more Focus and more reliably for her Cipher powers.
Zili Valera
Now I go to speak to Zili Valera at #36. It won't take much to convince him to relate that his cousin, Persa, is involved with a plot led by somebody named Bersa to pull a heist on the Bardatto Vault.
I now travel to The Gullet.