-

- Forums
- Chatrooms
- Gallery
- Gameplay Videos
- Upload
- Articles
- Mod Reviews
- Shop SP: Games, Movies, Books
|
|
| Pillars of Eternity 2 Video-Based Walkthrough by David Milward |
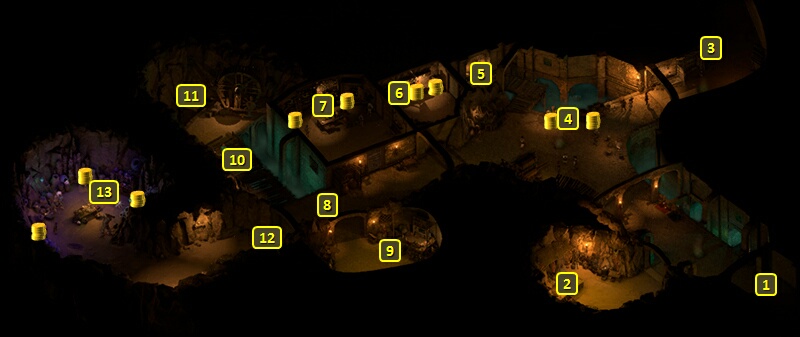
Old City
Eager Lover
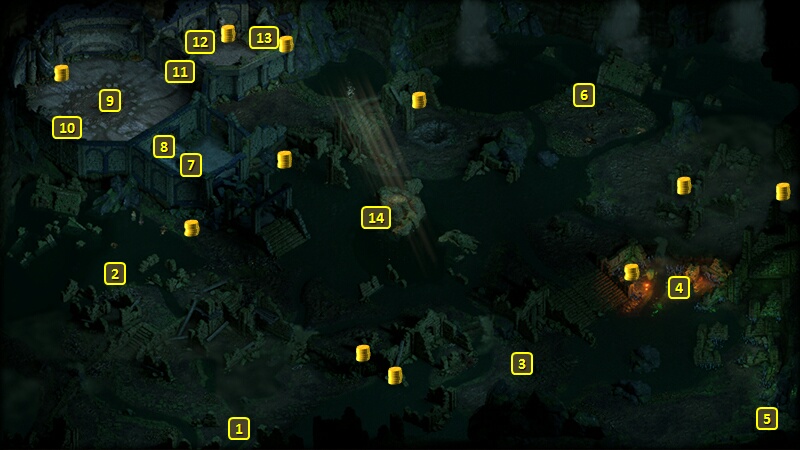
I start off at #1 on the map of Old City. I have Alliria unequip The Eye of Wael and switch to her secondary weapon set so that she's only wielding Modwyr in one hand. I have an upgrade in mind for Modwyr.
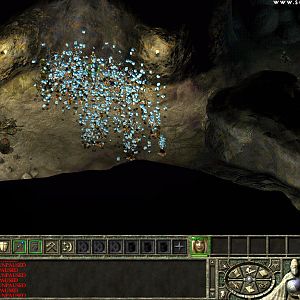
I go northwest a little and get attacked by several Flesh Eaters at #2, led by a Mad Harvester and a Flesh Monstrosity.
My healing resources allow me to handle the combat itself without much danger. But I make a point of having Alliria land the killing blow on at least two of the Flesh Eaters, who are actually Kith. That satisfies one requirement for the first upgrade, which requires landing a killing blow on one Kith with Modwyr itself. The other requirement is to speak to Modwyr afterwards.
The upgrade is Eager Lover, which provides +2% Action Speed on Hit that lasts until the end of combat, and it stacks 10 times.
Undead
I go on to #3 and defeat several undead, including Risen skeletal undead, Shadows and Spectres. Note that I make a point of planting Mirke's back against the wall, with the rest of the party members standing right next to her and forming a solid wall around her. A distinct danger in the fight is the spirit undead teleporting to her and attacking her. They can't do that if any spots near her are instead occupied by party members.
Earth and Flame Blights
Now I go to fight Earth Blights and Flame Blights at #4. Note that Earth Blights have low Crushing Armor Rating, so I have Pallegina summon her Ogres to help speed things along.
Reeking Horror
Now I "Wait" until Evening. The point there is that I'll get +2 to Frost Power Levels through Alliria's Sun and Moon Flail at night.
Now I head over to #6. I back Mirke right up against the wall. And the rest of the party forms a solid wall around her.
I grab the Corroded Bronze Horn Figurine and a Sabre called Min's Fortune from the corpse at #6. Min's Fortune will make for a good interim weapon for Serafen.
But now a LOT of Darguls and Pestilent Rotghasts will rise up and attack, led by a Reeking Horror. The party holds fort around Mirke. Alliria sets up with Infuse with Vital Essence, Blood Sacrifice, Arcane Veil, Blood Sacrifice. She then endlessly spams Ninagauth's Shadowflame. It's the better spell of choice against Rotghasts than Fireball as Rotghasts have high Burning Armor Rating. Aloth catches as many enemies as he can with his Stun Bombs and Cinder Bombs.
I eventually manage to wear down everything. The Reeking Horror leaves behind Mewnan's Broad Belt. I'll hold onto it for Konstanten.
I go west and grab some random items along the way.
Cog of Cohh
Using either the Cornett of Depths or the Cornett of Waves on the statue at #7 will open the door at #8.
At #9 is the Giant Cave Grub. It won't attack unless I get too close. I go into Stealth mode and circle around the room until I reach its north side. I then grab the opportunity to begin destroying the Grub Burrows. Getting rid of them will make the battle much easier.
The Grub itself will attack once I begin on the second burrow. Alliria tags it with Brand Enemy. It occasionally summons a Cave Grub or Cave Grubling. But my healing resources usually regenerate the party from any damage that comes its way. Summons like Pallegina's Ogres and Alliria's Phantom also help take some heat off the party as well. I eventually manage to wear it down.
A hidden niche at #10 has the Cog of Cohh. Pallegina wears it for the rest of the game. I always want this kind of amulet, as its key perk is that the whole party enjoys a +5% bonus to Damage. Pallegina wears it in part because I have other amulets in mind for other characters. The other point is that she gains the Aware Inspiration (+5 Perception, 50% chance to convert Grazes to Hits) whenever an enemy is killed near her.
*Evil* Cog of Cohh
I conduct this battle differently as the evil party. Of course, I start by sneaking along the right side of the perimeter in Stealth mode so that I can quickly destroy the Grub Burrows. But the similarities end there.
I get rid of the two Cave Grubs as quickly as I can. And on that point Ydwin makes things easier by using Puppet Master on the Giant Grub. It has a Weakness to Intellect Afflictions. So I have Ydwin do that whenever the Giant Grub summons help.
The party attacks the Giant Grub whenever it is by itself. I don't buff myself to the max right away for this battle, because it lasts a long time. I therefore avoid using up my healing resources like spells from Xoti and Tekehu, healing potions, Second Wind, etc. unless and until I truly need them (i.e., taking enough damage from the Giant Grub).
Ydwin uses a pattern of Borrowed Instinct followed by Phantom Foes on the Giant Grub when it's by itself. The Accuracy boost from Borrowed Instinct is a primer. The Phantom Foes makes it easier to attack in melee for the rest of the party.
At some point both the Borrowed Instinct and Phantom Foes were long enough in duration that Ydwin managed to build her Focus back up to 60, and then hit it with Disintegration. That pretty much sealed its fate.
Xoti gets the Cog of Cohh in the evil party. It sort of is by default. Tactical Meld will confer the Aware Inspiration on both Zarathos and Ydwin. Tekehu will have a way to gain a Perception Inspiration, albeit not until much later. And he gets the Baubles of the Fin. And Mirke gets the Dragon Pendant for its bonus Armor Ratings. But it serves Xoti well. She herself gets the Aware Inspiration (+5 Perception, 50% chance to convert Grazes to Hits) whenever an enemy is killed near her, and it can be extended endlessly once she gets Salvation of Time. And I definitely also wanted the +5% bonus Damage for everyone in the party.
Cadhu Scalth
I use both the Cornett of Depths andW the Cornett of Waves to open the door at #11.
A trapped sarcophagus at #12 has a Large Shield called Cadhu Scalth, which Eder uses for the rest of the game. Its Deflection Bonus will increase in proportion to the wielder's Athletics score, which Eder has been increasing all along. I enchant it with Luminous Harmony so that it provides a bonus to Damage Reduction against all sources of damage that scales with the Metaphysics skill, which Eder has also been increasing. That bonus also stacks with all of the other bonuses to Damage Reduction that he's been acquiring. I also upgrade it to Superb and then Legendary.
A sarcophagus at #13 has a Pollaxe named Wahai Poraga and some Rubies. The weapon is potentially interesting, but with the drawback that its multiple attacks can hit party members as well as enemies. It didn't fit into any of my plans.
I thereafter leave Old City through the tunnel at #1.
Mewnan's Broad Belt
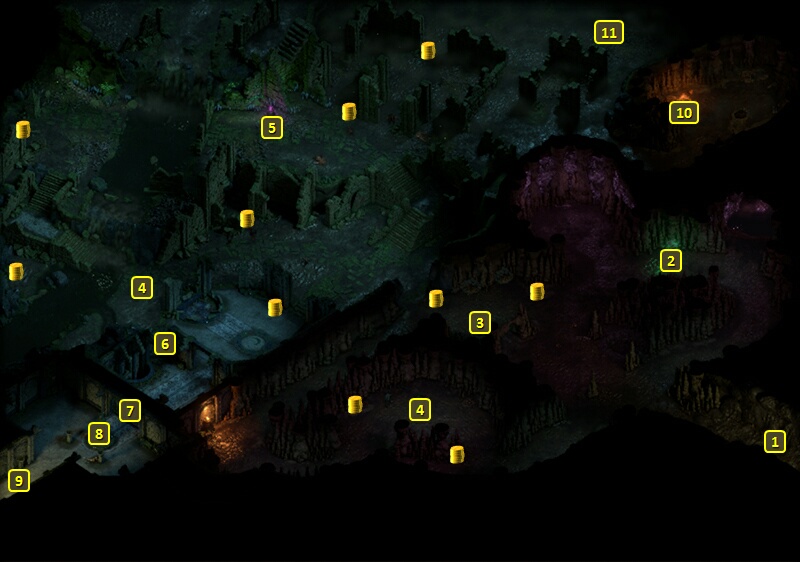
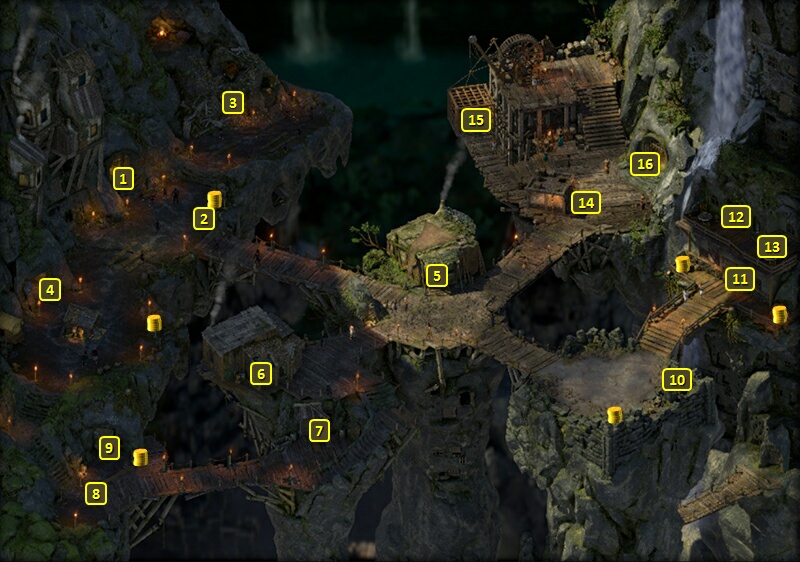
That brings me to #11 on the map of the Old City Ruins. I go to #8 and speak to Gwenfin for a bit, before leaving through the tunnel at #1.
That brings me to #7 on the map of the Undercroft. I go to the pulley at #6 and use it to get across to #3. I can do so without any Injuries as long as everyone in the party can make an assisted Athletics check of 4, which is done easily enough after everyone has consumed a Luminous Adra Potion.
I thereafter leave through the lift at #1.
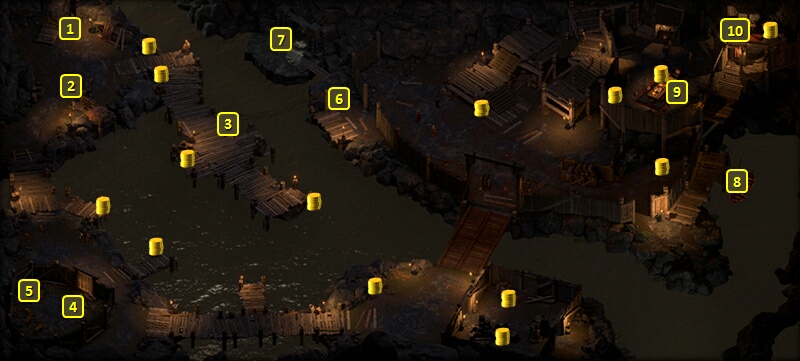
That brings me to #11 on the map of Delver's Row. I return to The Gullet through the entrance at #1.
That brings me to #4 on the map of The Gullet. I go to the exit at #1. Eder is going to be the odd man out for the time being.
I have Serafen equip Min's Fortune along with Beza's Toothed Blade. I enchant Min's Fortune with Lucky Strike, which adds +15% Damage with Critical Hits.
I switch out Serafen and bring in Konstanten, who now gets Mewnan's Broad Belt. The +2 to Athletics will reduce his Recovery Time in combination with an armor he will obtain in the future.
It is now time to return to Queen's Berth.