-

- Forums
- Chatrooms
- Gallery
- Gameplay Videos
- Upload
- Articles
- Mod Reviews
- Shop SP: Games, Movies, Books
|
|
| Pillars of Eternity 2 Online Walkthrough by David Milward |
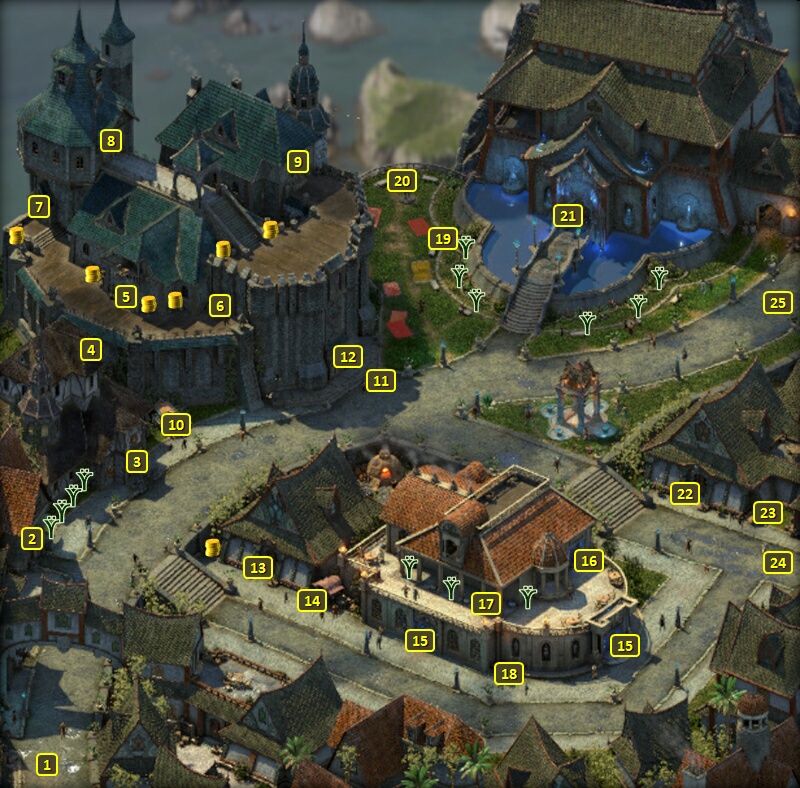
The Archmage's Vault
 The Vault itself is at #11.
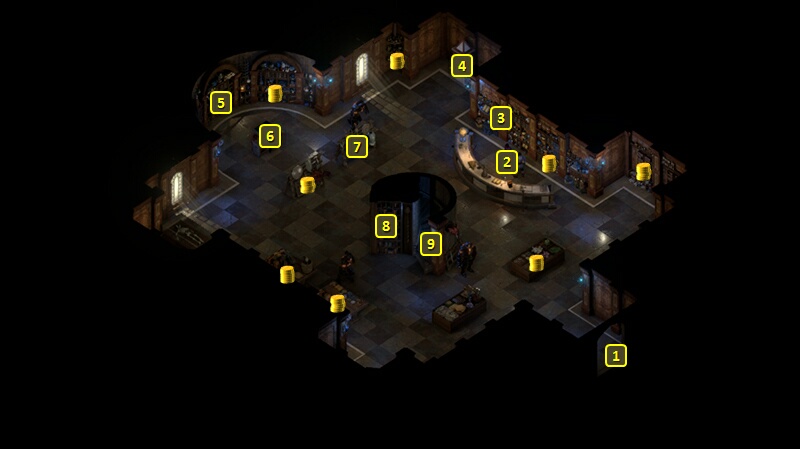
Be forewarned that it has a LOT of traps, and in my estimation needs a
character with both significant Perception and significant Mechanics
skill (boosted by Svef and/or Thief's Putty if need be) to get through
safely. One of the chests has the Hasongo
Epic needed to complete the Quest.
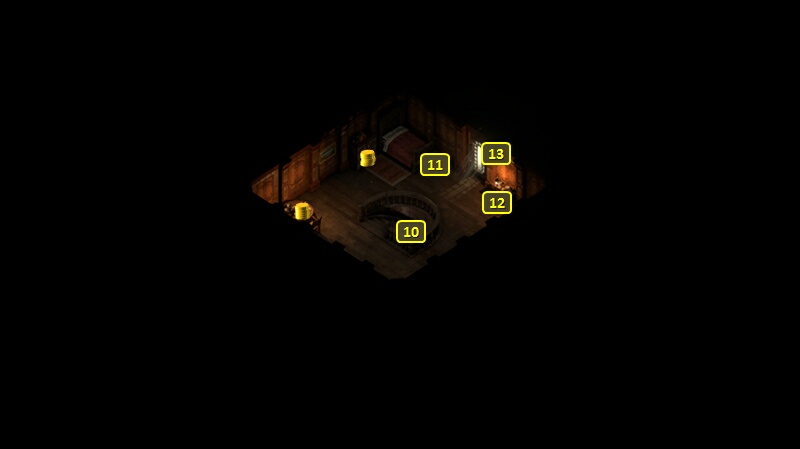
The Vault itself is at #11.
Be forewarned that it has a LOT of traps, and in my estimation needs a
character with both significant Perception and significant Mechanics
skill (boosted by Svef and/or Thief's Putty if need be) to get through
safely. One of the chests has the Hasongo
Epic needed to complete the Quest.