The entrance to Sanza's Emporium is at #20 on the map of Queen's
Berth. Getting this Quest requires that you first complete the Mapping
the Archipelago: West Wakara Reef Quest. Now he wants you to find
a pair of islands in the Burning Shoals.
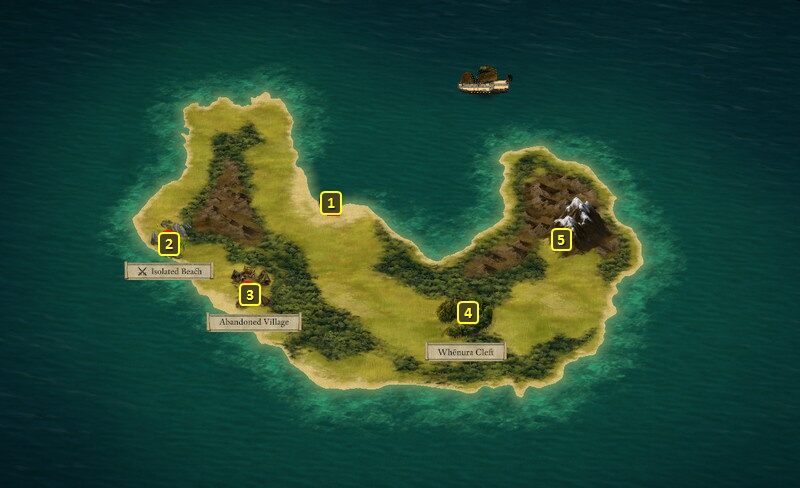
Here is the Whenura Cleft at #4. A Survival check of 11 reveals no
immediate threats to the party. A History check of 13 reveals the rope
spanning the Cleft to be of Dyrwoodan make.
An Athletics check of 12, followed by another Athletics check of 14,
will safely get the party along the rope and to the other side of the
Cleft. There is a real danger of the party dying if you fail the checks.
You can have a character make a Survival check of 15, an Athletics check of
10, and then an Athletics check of 13 to get pass the Eotens without a
fight. Failing any of the checks will lead to a fight with them.
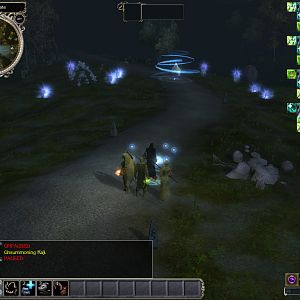
You'll come across a tree on the other side of the Cleft, with dead
Aumaua bodies hung from the branches. A few of your Crew
Members will join you once you've reached the other side of the
Cleft. At least one of them will want to loot the bodies.
The dialogue option that earns Stoic and Shady disposition allows them
to loot the bodies, and results in a +5 Morale boost for the Crew.
Commanding them to depart post haste for the ship, which earns
Aggressive and Passionate disposition, results in a -5 loss of Morale.
The Benevolent option that obliges them to bury the bodies will not
raise or decrease Morale. However, it results in one of the Crew Members
giving you the Footprints of Ahu
Taka.
Whatever decision you made about the Crew Members, you can use your
Watcher powers to learn what happened. Dyrwoodan raiders murdered the
Huana Druid, broke the staves of the Elders, and hung the villagers from
the tree.
If you did not previously oblige the Crew Members to bury the dead
bodies, you can now do so yourself or burn the bodies. Either action
will at this point lead to you finding the Footprints
of Ahu Taka yourself.
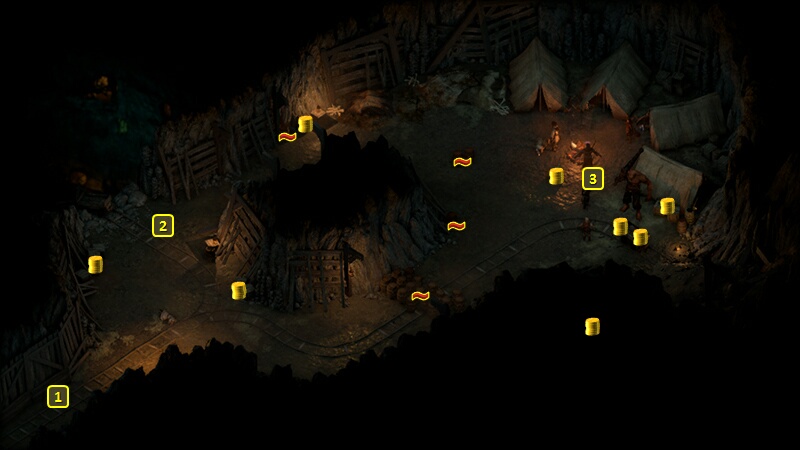
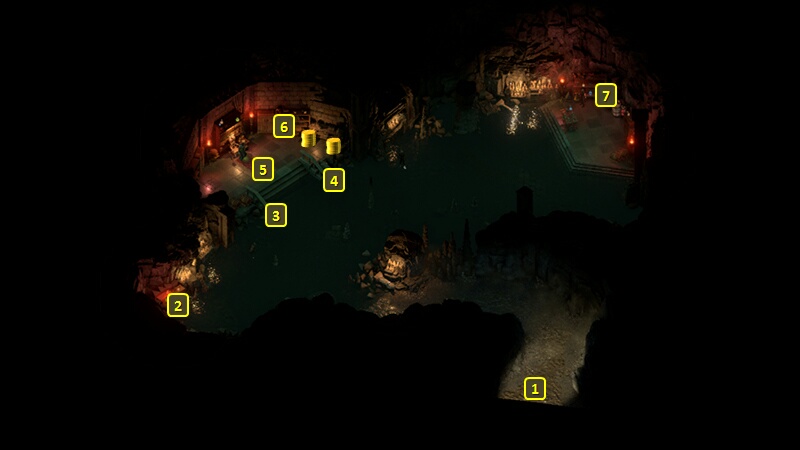
You'll start off at #1 on the map of the Collapsed
Coal Mine at #5. Spots marked with 'x' indicate Gunpowder barrels,
or even whole clusters of Gunpowder barrels.
Stepping ahead reveals a cutscene of a band trying to loot the mine,
including a Wizard named Eccea and a couple of Ogres.
A Sigil of Pain will be at #3 and a Sigil of Darkness will be at #4.
They can either be destroyed at a distance with weapons that can cause
Crushing Damage or elemental Damage at a distance (e.g., like a Scepter
for example), or neutralized by using a Sigil
of Pain Wardstone (from the container at #2) and the Sigil
of Darkness Wardstone (from the container at #7) respectively.
An Ancient Lich Battlemage will be at #5, along with several Dargul of
various capabilities, along with a Void Seer. The Lich leaves behind the
Lich's Grimoire and the Brawler's Grimoire if
defeated. The latter Grimoire itself is relevant to The
Lost Grimoires Task.
The container at #6 has a Blackwood
Log in it. You need all five of them if you want the Blackwood
Hull as an upgrade for your ship.
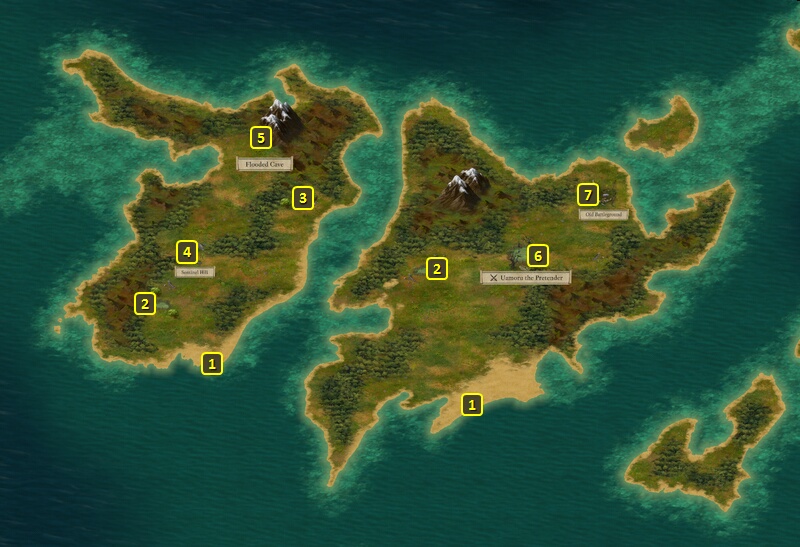
Leaving the Flooded
Cave means exploring the other island for purposes of completing
this Quest. You can also rename it to whatever you like.
Sorcerer's
Place is a project run entirely by fans and for fans. Maintaining
Sorcerer's Place and a stable environment for all our hosted sites requires a substantial amount of our time and funds on a regular basis, so please consider supporting us to keep the site up & running smoothly. Thank you!
Supporting Sorcerer's Place
Has Sorcerer's Place been useful? If you'd like to show your appreciation
for our hard work on the site, and help us pay the bills the site generates
every month, please consider helping support SP.
Thank you!