-

- Forums
- Chatrooms
- Gallery
- Gameplay Videos
- Upload
- Articles
- Mod Reviews
- Shop SP: Games, Movies, Books
|
|
| Pillars of Eternity 2 Video-Based Walkthrough by David Milward |
Dunnage
*Evil* Sick Crew
I sail to Dunnage at #9 on the World Map. I circle around a bit to get something over with, which is my Crew getting sick from having boarded the Plagued Ship earlier. I expend the Medicine Supplies to get my Crew back into shape, and trigger the rest so that it won't come up after I've had all my party members rest with their Food of choice.
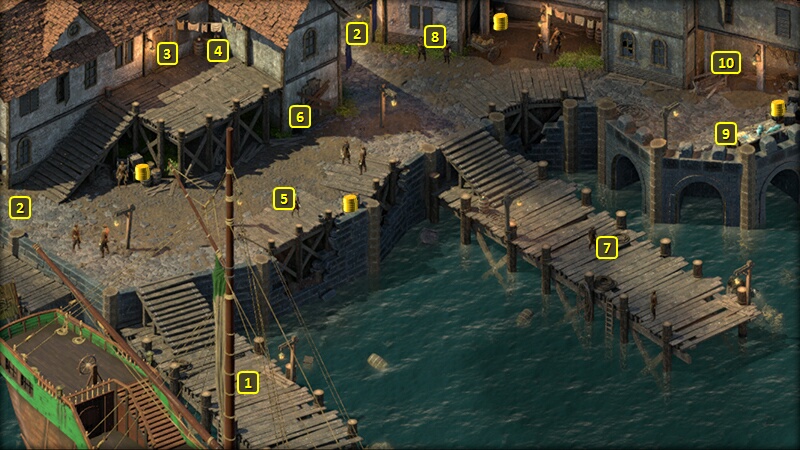
Lifter's Refuge
I start off at #1 on the map of Lifter's Refuge. I switch in Serafen, Ydwin, Rekke and Fassina as the party members with the least experience.
I now access the Supply Store and sell off my excess loot. I hire two new Crew Members. One is Coin-Counter Foeldas. He has two ranks in Cannoneer, and therefore can obtain four ranks in Cannoneer. I assign him to one of the four cannon slots, and sit Aledh as he was a temporary fill-in.
I also hire Big Mouth, who has three ranks in Surgeon. He can act as the back-up Surgeon in case Eld Engrim gets Injured. *Evil* I don't do this for the evil party, for the simple reason that the Dhow doesn't have as many spare Crew slots as the Galleon.
Fassina takes Wildstrike Corrode on her 8th level-up. She sometimes goes into Wolf Spiritshift during ship battles, so this passive provides a 15% Corrosive Damage bonus when she's Spiritshifted. The Corrode choice is a thematic one, as it also fits with a lot of the spells she uses.
I speak to Udita at #5, and accept a Bounty on Chornu.
Now I go to #8 and pay 3,000cp each for skills training from Kae Polzech (+1 Metaphysics, +1 Stealth) and Carlo Fortuni (+1 Diplomacy, +1 Sleight of Hand).
Last thing, I access the Supply Store again and purchase the Hull called The Red Dream. It adds +40 to Hull Health but at the expense of -10 Combat Speed. The Galleon is the sturdiest yet slowest ship, and purchasing The Red Dream plays to both its strengths and its weaknesses. It amounts to a resignation to getting hit and taking damage during ship battles, but being able to outlast almost every other conceivable ship build.
*Evil* Lifter's Refuge
The evil party also recruits Coin-Counter Foeldas as a Cannoneer specialist.
I bring Eder, Aloth, Serafen and Maia as party members. Eder takes Rapid Recovery on his 8th level-up. Increasing the regeneration provided by Constant Recovery is sensible for a character who is himself frequently going to take damage.
I likewise accept the Bounty on Chornu from Udita, and pay 3,000cp each for Kae Polzech's Training and Carlo's Training.
King's Coffin
I arrive at #1 on the map of King's Coffin. I pay 3,000cp to Elias Zelen for his Training (+1 Explosives, +1 Mechanics).
I go east and witness an Orlan shoot a pirate dead and take out his gold teeth. I now speak to Jacob Harker, and hire that same Orlan named Llendreth as a Crew Member. He has three ranks in Helmsman and nothing else, so he can get four ranks in Helmsman. I keep Beodul as my backup Helmsman. That's an important point, as having no Helmsman means you can't even turn the ship during combat.
I purchase a Smoked Rib Rack, which is the last Food item that I need to set up the no Rest run.
I also purchase an Arrack. I briefly switch Eder in and now add the Numb (-10% Damage from Melee Weapons) enchantment to his Pukestabber, having just acquired the last ingredient I need for it.
*Evil* King's Coffin
Zarathos likewise purchases Elias Zelen's Training, and recruits Llendreth as a specialist Helmsman.
I purchase Sugar, two Tahiwa Snappers and two Mohora Meat as some of the last remaining food ingredients that I'll want for ongoing Resting bonuses. I also replace Serafen with Ydwin.
*NOTE* A key difference for the evil party is that I make a point of stealing from the chests at the east end of King's Coffin, and in plain view (i.e., NOT in Stealth mode) of anyone nearby. The intention is to decrease reputation with the Principi, and thereby make an item available for Xoti.
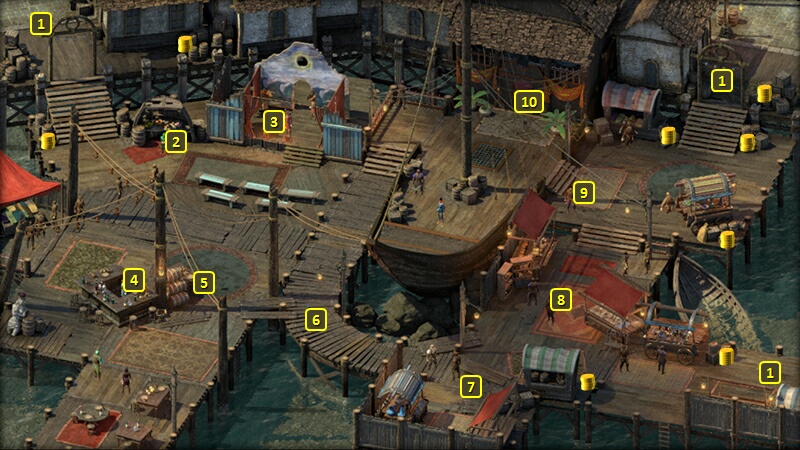
Either the good or evil party will now head over to the Radiant Court, both to acquire any Food ingredients they may still need, but also to purchase some powerful armor and weapons.
*Evil* Food in Radiant Court
I start off at #1 on the map of Radiant Court. I have some of the ingredients for the Food recipes I want, but not quite all of them.
A barrel just to the south has some Maoro Coral, which is one of the ingredients I want.
I steal the Unripened Palm Stone from the barrel near #2, which helps decrease my reputation with the Principi. It will eventually be relevant to the Iron Gut Task.
I purchase Pork from Birna.
I then purchase Oil from Rosanella at #4.
Now it's time to start putting some of my recipes together. Two Tahiwa Snappers, two Fire Kelp and Spices can be put together into Hot Razor Skewers. I have enough to make two of them, one for Zarathos and one for Serafen.
I already have Candied Nuts from when I pickpocketed them in Port Maje. Two each of Palohe Nuts, Salt and Sugar gets me another. One for Ydwin and one for Maia.
Two each of Khapa Leaves, Koiki Fruit and Mohora Meat means a Mohora Wrap for Eder.
Two Oil, a Swordfish and Maoro Coral means Crusted Swordfish for Aloth.
Four Pork, Salt and Spices means a Smoked Rib Rack for Rekkes.
I make them now, but I don't Rest with them, at least not yet. That's not until I get ALL the food items I want.
*Evil* Dessiral
I speak to Dessiral at #6. She gives me four bounties for former crew members of the infamous Firebrand, Lord Admiral Imp, a Cipher named Lady Epero, a Wizard named Katrenn and an Ogre named Torkar.
*Good* I switched in Aloth for Eder before travelling to Radiant Court and speaking to Dessiral.
*Evil* Amra
Now I speak to a merchant named Ramaso at #8. I purchase a two-handed Battle Axe called Amra. It will become Eder's for the rest of the game. A key theme in Eder's build will be to wield this weapon with a Might score of 25. That means Critical Hits will also inflict area-of-effect damage (25% of base weapon damage) on enemies near the target who suffered a Critical Hit. And passives like Weapon Specialization, Sneak Attack, Backstab and Deathblows can increase that area-of-effect damage. Also, killing a target has a 25% of casting Frenzy on the wielder. So another benefit of the weapon is to allow a non-Barbarian character to enjoy one of the key perks of the Barbarian class. Unfortunately I don't have the ingredients for any of its upgrades just yet.
Pale Hide
The good party purchases the Pale Hide, which Aloth wears. The key point will be the Ghost in White enchantment, which will mean a 20% chance of reducing a Hit to a Graze. And that in turn will maximize the duration of Wizard's Double and Ironskin.
Coel's Training
I speak to Co'el Marcellus, and pay him 3,000cp for his Training. That means +1 Bluff and +1 Streetwise.
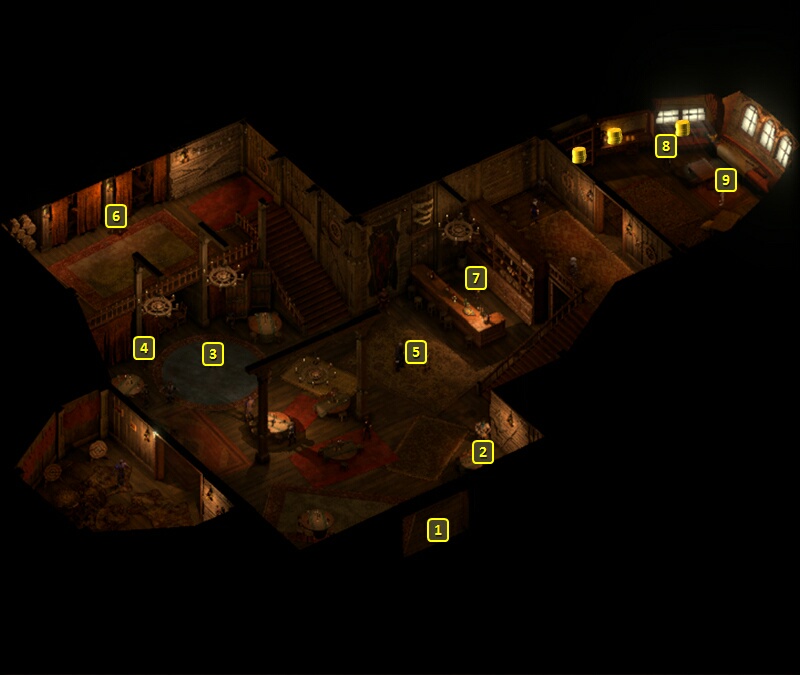
I then go through the door at #10.
The Treasure Trove
I buy some crafting Gems from Dimessa in The Treasure Trove.
I buy a Flail called Sun and Moon. Alliria wields it as her off-hand weapon for the rest of the game. The +2 Fire Power Levels during day time is the key benefit. I can roll with the +2 Frost Power Levels by emphasizing the Shadowflame spell from Ninagauth's Teachings at night time. I will add the Solar Excellence enchantment, which will mean a 5% chance to repeat either White Flames or Fireball when I use them. I will also add the Golden Sun enchantment, which will mean a little bit of Health restored when the weapon hits with Burning Damage. Every little bit helps for a Blood Mage.
I also buy the Voidward ring. Alliria wears it for now, as it will reduce the Raw Damage she takes from using Blood Sacrifice.
I also buy the Ring of Minor Deflection. Ydwin wears it for the rest of the game. It provides a +2 bonus to Deflection, which not only helps her to tank but also maximizes her use of Riposte.
I thereafter leave the Treasure Trove and make for the exit in the northeast corner of the Radiant Court.
*Evil* Treasure Trove
Maia gets Mirrorback. The direct bonus to Deflection vs. Ranged Weapons and the +2 bonus to Stealth (in combination with the Sharpshooter's Garb) will help elevate her Deflection against Ranged Weapons while hanging back and firing from a distance.
Aloth gets Voidward in the evil party. I have him turn on the Destructive Channeling modal. It increases Damage inflicted by Scepters, but itself inflicts Raw Damage on the wielder with each attack. The ring will reduce that Raw Damage penalty.
I also buy a Ring of Minor Deflection for Mirke. Increasing Deflection is always a good thing for a tank. In this instance there's the additional reason that adding as much Deflection as I can increases the chances of triggering the Insistence power of Rannig's Wrath, which means each attack that targets her Deflection and misses has a chance of giving her instant Recovery.
I travel to Balefire Beacon after switching out Eder for Serafen, who could use some catching up in terms of experience points.
*Evil* Captain Furrante
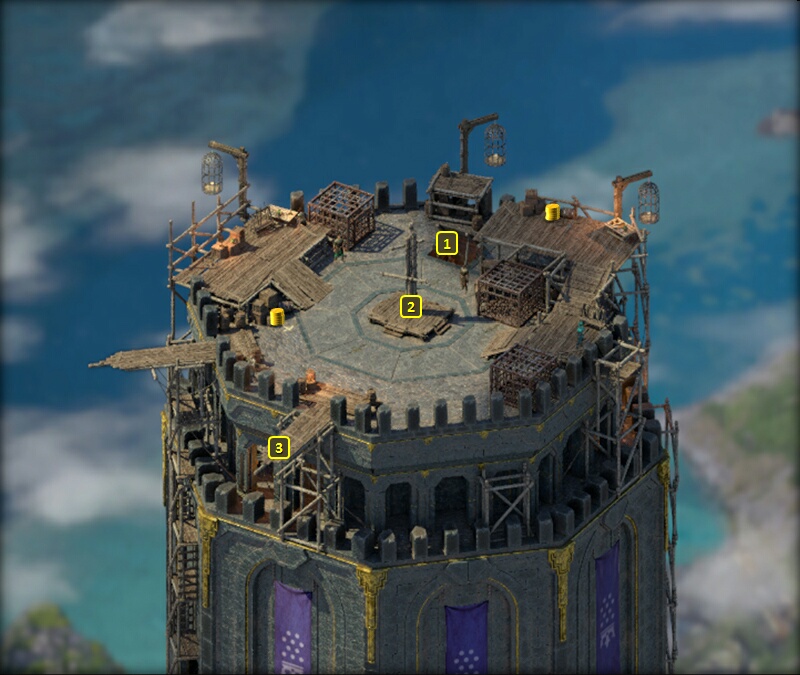
Either party now travels to Balefire Beacon and arrives at the entrance at #1. They then speak to Captain Furrante at #4.
He gives the party a Cloak of Protection as a reward for completing the Blow the Man Down Quest.
And again with the evil party I conduct the conversation so as to deliberately avoid gaining any positive reputation with the Principi. That is to say I avoid disposition-earning responses whenever I can.
Furrante wants the Watcher to discover what they can about a legendary ship of the undead called The Floating Hangman, captained by a Paladin named Lucia Rivan who had been defeated by a Priest of Berath named Yseyr. He brings out for testimony a woman named Selinia who survived an attack by The Floating Hangman.
Ydwin takes Tumbling on her 8th level-up. It provides a bonus to Deflection vs. Engagement Attacks. Ydwin is completely reliant on either her Cipher spells or Ranged Weapon Attacks during combat. And yet she doesn't have the ability to string together several buffs in an instant like a Wizard. So sometimes her only option is to simply walk away from enemies who are next to her, and risk Engagement attacks. The bonus provided by this passive will stack with the bonus provided by The Magnificent Escape Cape that she will acquire in the future, and considerably improves her chances of having Engagement Attacks miss her completely.
Maia takes Resilient Companion. It gives Ishi +2 Armor Rating, and thus improves the chances of the bird not getting knocked unconscious during ship battles.
The evil party now goes up the stairs at #3, and enters the Balefire Tower. *Good* The good party switched in Rekke for Aloth, so that he could benefit from the xp reward.
I steal from the two chests, and in plain view of the guards (i.e., NOT in Stealth mode). That finally gets my reputation with the Principi to -3, which has been my objective all along. That means the Principi ship called The Terror of the Deadfire, captained by Arteiro the Avenger, will now be on the World Map. And from this point onwards I have to avoid any gain of reputation with the Principi until I defeat that ship and get a special armor for Xoti. I thereafter leave the Beacon.
Food Resting Bonuses
Now it's time to set up the no Rest run, starting with Resting with the Food bonuses that will be in place until almost the end of the game.
Mirke gets Candied Nuts. The +2 bonus to Dexterity will help her reload her guns faster. The +2 bonus to Perception will both help the Accuracy of her attacks, and will also improve her ability to find traps for disarming and hidden items to be looted.
Pallegina gets Glazed Chops. The +3 bonus to Might will improve the healing pulses provided by several of her items, Ancient Memory and Exalted Endurance. The +30% bonus to Healing Received will considerably improve the healing she personally receives from those items and abilities, which also improves her own resiliency.
Xoti also gets Glazed Chops, and for similar reasons. She's built in part around replenishing her own Health with items, and providing a healing burst when she lands killing blows with a Great Sword that she will get in the future. The +3 Might aids her Damage with her Attacks, the strength of the healing bursts from killing blows, and the self-healing provided by other items. The +30% bonus to Healing Received helps improved her own personal resiliency.
Ydwin gets one of the three shares of Hylea's Bounty. The +2 to skills improves both Stealth and Intimidate, which in turn empowers an armor and a weapon she will get. The +25% to Health is natural for a tank-themed build. The +10 to all Defenses is natural for any tank-build, but also helps her make the most out of Riposte.
Serafen gets Fine Aedyran Mead, which will stack will all the other considerable Armor Rating bonuses he will receive.
Eder gets Forgetful Night. The +10% Damage to weapons is nice, but not the real point. The -20% reduction of Damage received from weapons will stack with other bonuses to Damage Reduction received from other items and abilities, making him a nearly undamageable tank. And being an alcoholic drink, it will trigger the powers of his Pukestabber Dagger.
Aloth receives the second share of Hylea's Bounty. The +25% bonus to Health is always welcome. The +2 bonus to all skills augments the power of a cloak that he will find. The +10 bonus to all Defenses helps increase the probability of reducing any Attacks against him to Grazes or Misses, and thereby maximizing the duration of his Wizard's Double and Ironskin spells.
Fassina gets the Smoked Rib Rack. The +4 to Might will both increase the Damage of her offensive spells and other attacks, and increase the power of her Healing spells. The +1 to Power Levels will stack with other bonuses to Power Levels that she acquires.
Rekke gets the Hot Razor Skewer. His fighting style that uses an Estoc is based on high Penetration that allows him to score Damaging blows on even highly-Armored targets. The +2 bonuses to both Might and Penetration are natural choices.
Alliria gets the last share of Hylea's Bounty. The +2 to all skills will help in the numerous skill checks she has to make throughout the game. The +10 to all Defenses which stack with the considerable bonuses to Defenses she gets through both defensive spells and passives. The +25% to Health is a natural for a Blood Mage, adding to the pool of Health available to the Blood Mage when using Blood Sacrifice to recoup spent spells.
*Evil* Food Resting Bonuses
There was an ingredient I was looking for but didn't get the first time I visited both Jacob Harker and Birna, Luminous Lobster. So I wait 26 hours, travel to Radiant Court, and Birna now has three of them for sale. I buy two of them. Two Rum and four Oysters (which I already had) plus a Luminous Lobster makes a Captain's Banquet. And I make two of them.
I also stop off at The Treasure Trove and buy some gems from Dimessa. As a side note, Amber is a rarely available but valuable gem for crafting purposes, so I get them whenever I can. I leave Dunnage thereafter.
Now I go through the process of setting up everyone's Food resting bonuses. Maia gets one of the Candied Nuts. The Perception bonus improves the accuracy of her Arquebus shots, and the Dexterity bonus helps her reload her Arquebus faster.
Rekke gets the Smoked Rib Rack. The reasoning is that his build places a lot of emphasis on Carnage, and the +4 bonus to Might increases the Damage inflicted by Carnage. The +1 bonus to Power Levels also increases the Damage and Area-of-Effect of Carnage.
Serafen gets one of the Hot Razor Skewers. His fighting style incorporates the +2 Penetration bonus of the Half-Sword modal. So I may as well add to that, along with the +2 bonus to Might and +1 Power Levels, both of which help Carnage as well.
Aloth gets the Crusted Swordfish. The +2 Penetration with spells is helpful for any character that casts damaging spells. The +20% area of effect and +10% damage in particular will augment his attacks with Kalakoth's Minor Blights, but will also augment his other spells as well.
Eder gets the Mohora Wrap. The objective is for him to have a minimum Might of 25, so that he can use Amra's full powers from the very start of ship battles. The reduction in Recovery Time will also stack with the reductions in Recovery Time of the Armored Grace and Mob Stance abilities that he will acquire, meaning that he can attack quickly and often with his powerful two-handed weapon.
Ydwin gets the other Candied Nuts. The Dexterity bonus helps her make her Ranged Weapon attacks faster and more often, and the Perception bonus increases the Accuracy of those attacks. Moreover, the +2 Perception bonus improves her ability to find traps, hidden items, hidden levers and switches and so on. The best way to deal with traps near enemies in waiting is to send your Mechanics character ahead in Stealth mode to disarm those traps undetected. And that means I want my Mechanics Character to also have good Perception and good Stealth.
Tekehu gets a Captain's Banquet. It's one of the best food items as it confers complete immunity to any Intellect, Perception or Resolve Afflictions. The +20% damage with spells meshes well with the Druid's repertoire. And Druid spells can take time to cast, so the 20% bonus to Action Speed is very welcome as well.
Xoti gets a Captain's Banquet as well. She's not an offensive spellcaster the way that I've built her. The bonus to Action Speed is the key benefit for her. It decreases the time she needs to get off buff spells, and then Salvation of Time castings as well. Moreover, it makes it that much easier to sneak in another buff (like a Barring Death's Door) in between castings of Salvation of Time even when she wants to settle into just spitting out those Salvations of Time non-stop.
Mirke gets a Fine Aedyran Mead, which I already had. It provides a +1 bonus to Armor, which is the key strength of her build.
Zarathos gets the other Hot Razor Skewer. The +1 bonus to Power Levels augments both Carnage and his Monk Fists. His Berserker-subclass gives him a +2 bonus to Penetration while Frenzied. And the Penetration of his Monk Fists scales with his Power Levels. The +2 bonus to Might is certainly welcome too. A natural alternative may be Captain's Banquet, since it would prevent the Berserker's version of Frenzy from causing Confusion. But my build for this character provides an alternative way of getting rid of the Confusion, while the bonuses to Power Levels and Penetration are a better fit for the build's strengths. I want to have my cake and eat it too.
It is now time to explore the Kangati Islands.