-

- Forums
- Chatrooms
- Gallery
- Gameplay Videos
- Upload
- Articles
- Mod Reviews
- Shop SP: Games, Movies, Books
|
|
| Pillars of Eternity 2 Video-Based Walkthrough by David Milward |
Bounties
Ikorno
I sail east from Neketaka at #17 on the World Map. I board a Deadfire Merchant Ship and a Huana Expert Captain along the way.
I reach the island at #34. I switch out Eder for Xoti before I dock at the island itself.
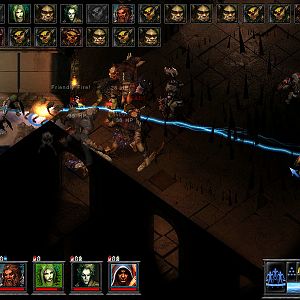
I go on ahead to start the fight. Alliria, Pallegina and Aloth absorb the brunt of the onslaught as a front-line. Mirke keeps her distance and fires away with her guns. I'm careful to avoid committing Xoti until the position is settled, and have her strike enemies that are more on the flanks or sidelines so as to avoid her getting overwhelmed by multiple enemies.
However, I have no bottleneck to work with so I make heavy use of summons here, including Alliria's Phantom, Pallegina's Ogres, and Dichotomous Souls from Xoti. I eventually manage to wear everyone down.
Ikorno, a Battlemage, leaves behind an Amulet of Greater Health an a Leather Armor called Fleshmender. Xoti wears Fleshmender for the rest of the game. It has a +3 bonus to Armor Rating that ends upon the wearer getting Hit, but will replenish itself over time. The key reason for having Xoti wear it is that it replenishes +5 Health every 12 sec. It becomes yet another item that provides Health Regeneration that gets augmented by her bonuses to Might and Healing.
In terms of upgrades for the Armor itself, it's an easy choice not to bother with either Poacher's Kit or Poacher's Tackle. A ship combatant will never use quick-items or change weapon sets during ship combat. So it's a given that I apply the enchantments that provide defensive benefits that will be in constant effect during ship combat, Boiled Leather (5% of incoming Hits converted to Grazes) and Hardened Buckskin (-10% Damage taken from Critical Hits).
I return to my ship, and switch Eder back in for Xoti.
*Evil* The Steel Preacher
The evil party boards a Huana Expert Captain as they sail back westwards.
They then dock briefly at Neketaka to ensure repair of the ship. They then sail south and board a Deadfire Merchant Ship, which replenishes the ship's supplies.
I sail west and board a Vailian Master Captain, as my party is now strong enough to win these battles with some care. And it becomes preferable when faced with a Galleon that has what I regard as an ideal configuration, all Vailian Hullbreakers on one side and all Iron Thunderers on the other. The boarding battle starts off with the usual buffs. But another familiar theme plays out. Mirke and Xoti keep the oncoming Vailian Fighters and Goldpact Paladins locked down in the same spot. Zarathos breaks off, and then helps the ship combatants quickly wipe out the Vailian Sailors and Vailian Priests.
I sail southwest until I reach the island at #5. I temporarily switch out Ydwin for Rekke.
The island itself has the encounter with The Steel Preacher, who is a more powerful than usual Ironclad Construct. I go into Stealth mode to get as close as I can. The usual buffs and strategies get the job done.
Tekehu takes Practiced Healer on his 15th level-up. The 15% bonus to healing will enhance his use of Nature's Balm and Moonwell as buff spells.
The Steel Preacher leaves behind a pair of bracers, the Boltcatchers. Rekke wears them for the rest of the game. It can use Crackling Bolt once per Rest, and has a 20% chance of reflecting a Shocking Damage attack made against the wearer. The key benefit for Rekke is that it provides a 20% chance of him scoring extra Shocking Damage when he scores a Critical Hit. And that bonus Shocking Damage will be increased by the bonus +2 Electricity Power Levels provided by his Deltro's Cage armor.
I return to the ship, and switch Rekke back out for Ydwin.
Captain Aeldys' Proposition
Now I sail north to Fort Deadlight at #4.
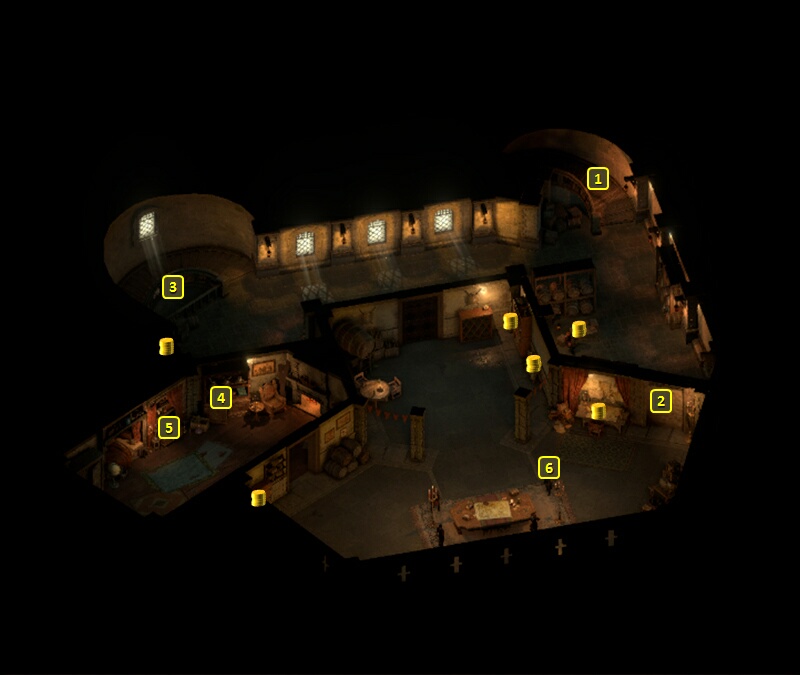
I start off at #1 on the map of Fort Deadlight. I speak to First Mate Mabori just a little ahead and ask to see Captain Aeldys.
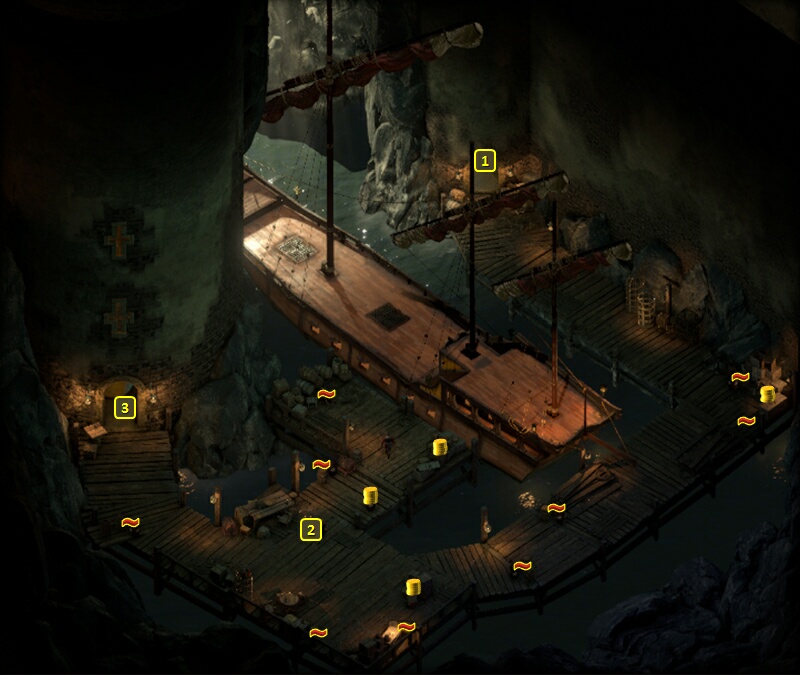
I get brought to #6 on the map of Deadlight Donjon. I speak at length with Captain Aeldys. She gives me a Hide armor called the Swift Hunter's Garb as a reward when I mention that I helped Mad Morena, but I'll just sell it.
I also agree to her request to end the Crookspur Slavers and free the slaves. I thereafter leave out the door at #1.
That brings me to #18 on the map of Fort Deadlight. I gradually make my way west and then east along the ramparts until I reach the stairs at #16. That brings me to the stairs at #5, and from there I go to #1 and leave Fort Deadlight.
*Evil* Bounty on Kuaro
The evil party sails north, and boards a Principi Master Captain, and then a Deadfire Merchant Ship. I dock at Lifter's Refuge.
Eder takes Unbending on his 15th level-up. This is an activated ability that takes 25% of Damage from each attack made against the character, and converts it to healing over time for the character. Might will not affect the amount of healing. But Intellect and Power Levels can prolong the duration of the healing, which means that the healing over time can actually result in greater net healing than the damage caused by the original attack. That can make the ability really powerful in certain circumstances. One circumstance is where the character hits hard from the side, takes the odd blow or two, but is not himself the main object of enemy attacks like the tank. That will give him time to catch his breath and let the healing occur over time. The other is where the character does get pounded hard and lots of times, but is able to weather the storm (e.g., like with the help of Barring Death's Door). If the character can survive the onslaught, that will mean multiple healing ticks doing their thing over time. And yes, it can get prolonged by Salvation of Time from Xoti during ship battles.
I switch in Aloth, Serafen, Rekke and Konstanten as the characters with the least amount of experience. Zarathos speaks to Udita at #5 on the map of Lifter's Refuge. I get 2,500cp and 6,000+ xp as rewards for the bounty on Kuaro. I also now accept the bounty Rock-Stomper Rodul.
I go around town buying rare food ingredients (e.g., Luminous Lobster, Maoro Coral) and gems from Dimessa. I reassemble the core party after that, and return to my ship.
I board several ships while sailing eastwards, and make my way to Sayuka.