-

- Forums
- Chatrooms
- Gallery
- Gameplay Videos
- Upload
- Articles
- Mod Reviews
- Shop SP: Games, Movies, Books
|
|
| Pillars of Eternity 2 Video-Based Walkthrough by David Milward |
Rimebound Temple
*Evil* Rime Construct Fluid
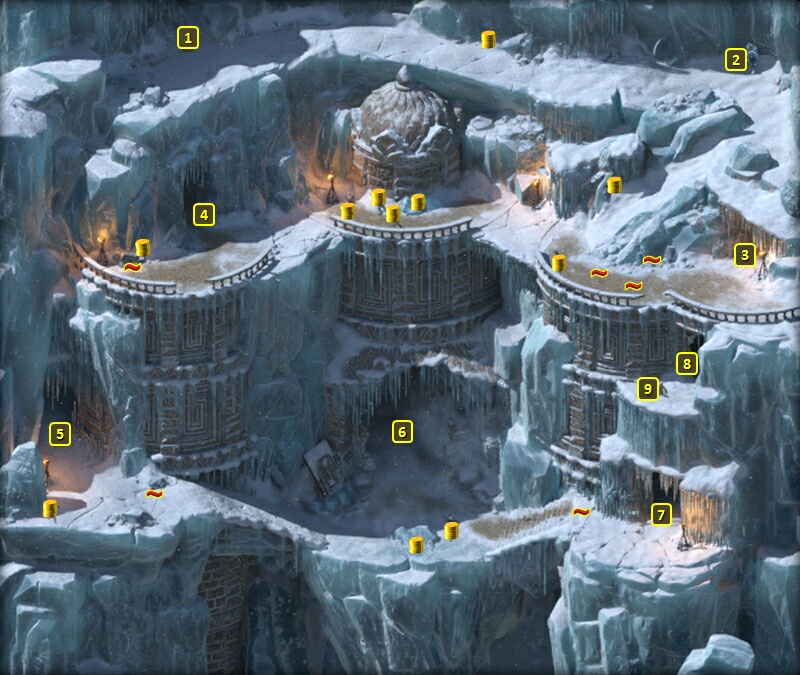
The evil party starts off at #1 on the map of the Rimebound Temple. At #2 will be a Damaged Rime Construct, along with a couple of other Rime Constructs.
The objective is to obtain the Rime Construct Fluid from the Damaged Construct. If you click on it, you can make either a Dexterity check of 15 or a Mechanics check of 12 to extract the Fluid. You can still extract the Fluid without making the checks, but doing so results in an Injury to the Watcher. The Constructs will attack in any event afterwards. But I find it easier to force-attack the Constructs and then pick up the Fluid afterwards.
I continue on the pathway that leads downwards and south. Ydwin has to disable some traps at the bottom.
I continue west along the path. Zarathos has a vision of the past defenders of the Temple. He loots some treasure from the ashen husks.
I continue west to the door at #4, which has another trap near it. The door itself leads to the Temple of Decline.
Mama Snow Bear
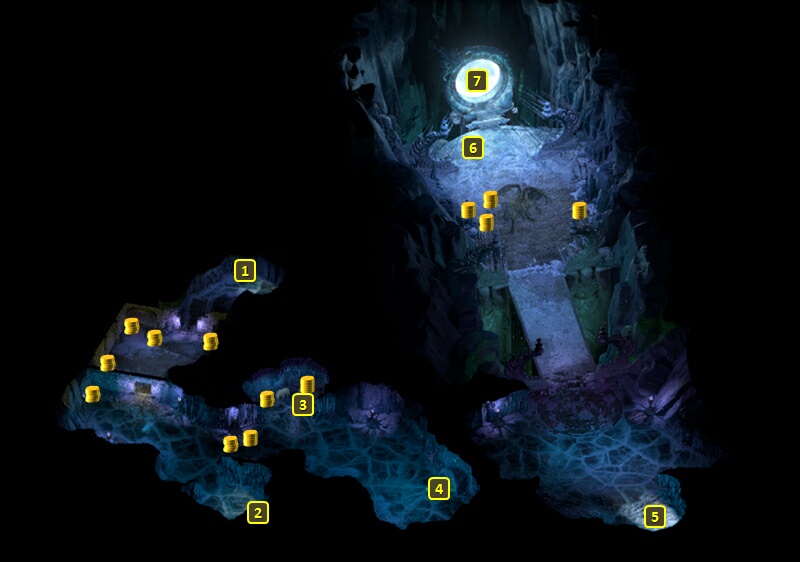
I start off at #1 on the map of the Temple of Decline. I fight a few Snow Bears led by a Mama Snow Bear at #3. It's easy enough when Alliria spams Fireballs and Mirke spams Stunning Surges.
A Pet Snow Bear Cub named Fjord is nearby. I take it, with the intention that it will provide the 'skin' for a new composite Pet for Eder.
A pool of fluid is at #4. Mirke makes a Perception check of 11 to identify its ingredients. Pallegina makes an Alchemy check of 16 to identify the fluid as toxic. That knowledge may come in handy later on.
I could obtain Rime Construct Fluid from the pool, but I'd have to make a Sleight of Hand check to avoid the Acute Rash (-5 Fortitude, -3 Corrosive Armor Rating) Injury. I already have some, so now I just leave out the door at #2.
Frozen Glamfellen
I am now at the door at #5. I make east for the door at #6. There is a trap to either side of it, so Mirke disarms them. I go through the door itself after that.
That brings me to the door at #5 on the map of the Temple of Decline. I go north, and witness the undead dragon getting sucked against its will through a portal.
A frozen figure is at #6. Mirke makes a combined Perception check of 13 and an Insight check of 12 to reveal that an object was torn from its fingers after it died. Alliria makes a combined History check of 14 and Religion check of 11 to reveal historical details of the armor it is wearing.
I remove the Helm of the White Void from it with very little trouble. Mirke wears it for the rest of the game. It provides a +10 Accuracy bonus when making an Attack that also inflicts a Body or Mind Affliction. The Affliction has to be an integral part of the Attack itself. Standard weapon attacks that do not use any activated abilities don't qualify. So Spirit Frenzy for example won't mean that weapon attacks gain +10 Accuracy. It is the activated attack itself that has to inflict the Affliction. Stunning Surge qualifies, because it is an attack that inflicts Stunned on its targets. Equipping this Helm enhances Mirke's ability to spam Stunning Surge, as the Accuracy boost means that the Critical Hit needed to recoup Mortification is that much more likely to land. True, I do lose the -10% Recovery Time of Acina's Tricorn. But an increase by fractions of a second to Recovery Time is negligible (which will be proven shortly), and therefore a small price to pay for the Accuracy boost.
I leave the scripted interaction for a bit. One reason being so that Mirke can put on her Helm of the White Void. The other reason is that I have everyone put a Thief's Putty in one of their quick-item slots and ingest it. I click on the frozen figure again to begin the scripted interaction, and with the intention of removing the armor.
Options include:
*Evil* To Rise and Decline
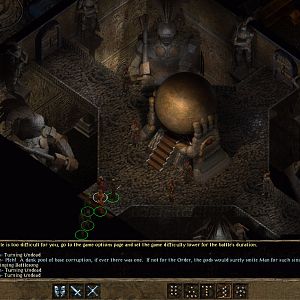
I click on the portal called the Vytmadh at #7, and then speak at length with Rymrgand. He wants me to destroy the undead dragon named Neriscyrlas in exchange for closing the breach to the White Void that is causing the iceberg to build up around the temple.
Zarathos takes Uncanny Luck on his 18th level-up. The key point in this instance is to add another 5% chance of converting a Hit to a Critical Hit, which in turn means the possibility of extra attacks through either Swift Flurry or (in the future) The Heartbeat Drumming.
I leave through the door at #5.
I am back at #6 on the map of the Rimebound Temple. I go east, disarm a trap along the way, and through the door at #7 to enter the Eastern Cavern.