-

- Forums
- Chatrooms
- Gallery
- Gameplay Videos
- Upload
- Articles
- Mod Reviews
- Shop SP: Games, Movies, Books
|
|
|
INTRO & ABOUT |
CHARACTERS |
ITEMS |
SHOPS AREAS | QUESTS | IMPORTING ITEMS TO BG2 |
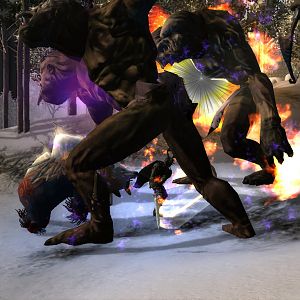
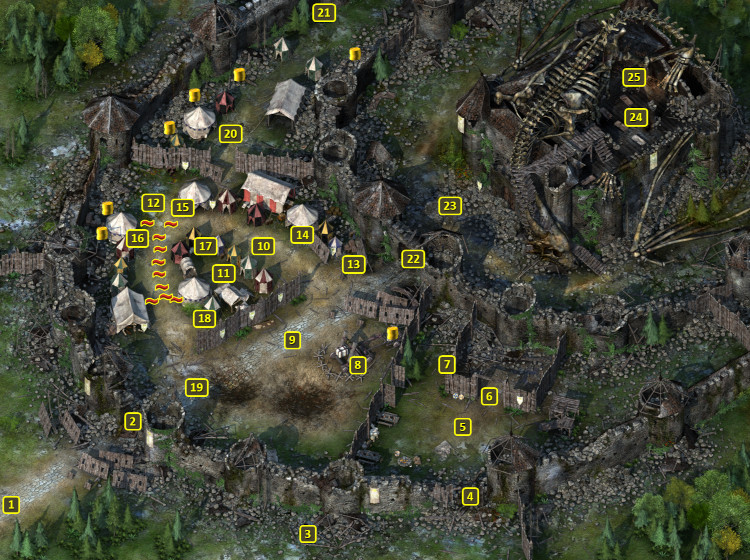
ATTACK ON DRAGONSPEAR CASTLE, COURTYARD
The straightforward objective here will be to help the Coalition forces defeat the Crusaders in the courtyard of the castle.
 Here is where you confront one of Caelar's lieutenants, Ashatiel. Depending on your dialogue choice, you can either engage in a one on one duel with her, or engage in party vs. party battle.