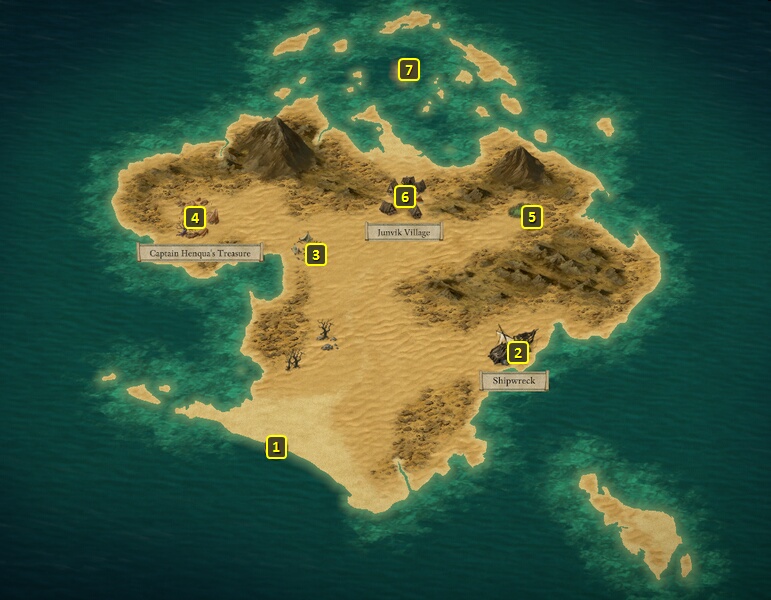
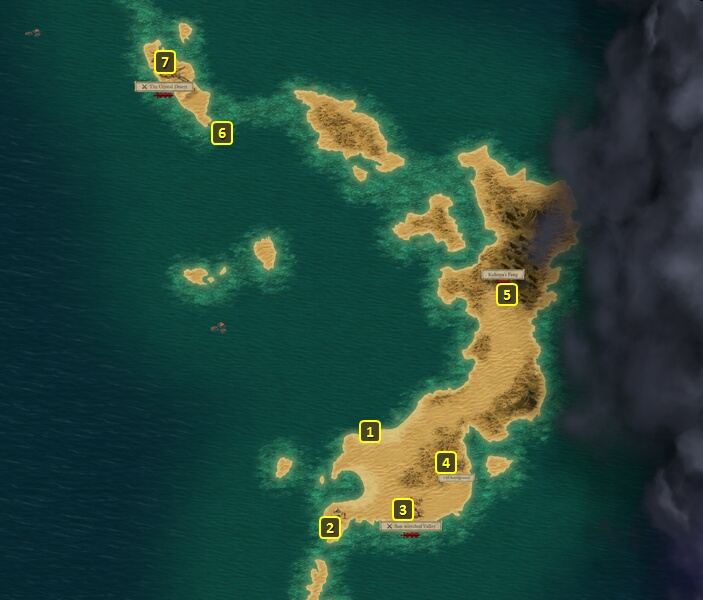
I thereafter land at the north island of Rikihu's Maw, at #56 on the World Map.
I arrive at #1 on the map of the island. I enter Junvik Village at #6.
I arrive at #1 on the map of Junvik Village. I travel north and to the exit at #7.
That brings me north on the other side at #6 on the map of the island. I travel north until I reach the entrance to the Drowned Barrows at #7. This time I elect to enter through the mouth.
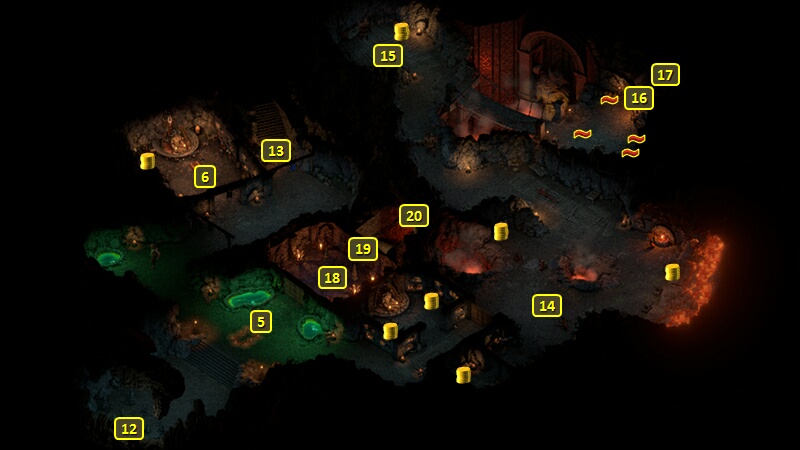
I start off at #12 on the map of the Base Floor of the Drowned Barrows. I go northeast and down through the stairs at #20.
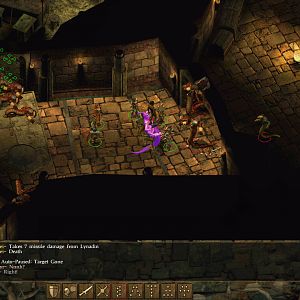
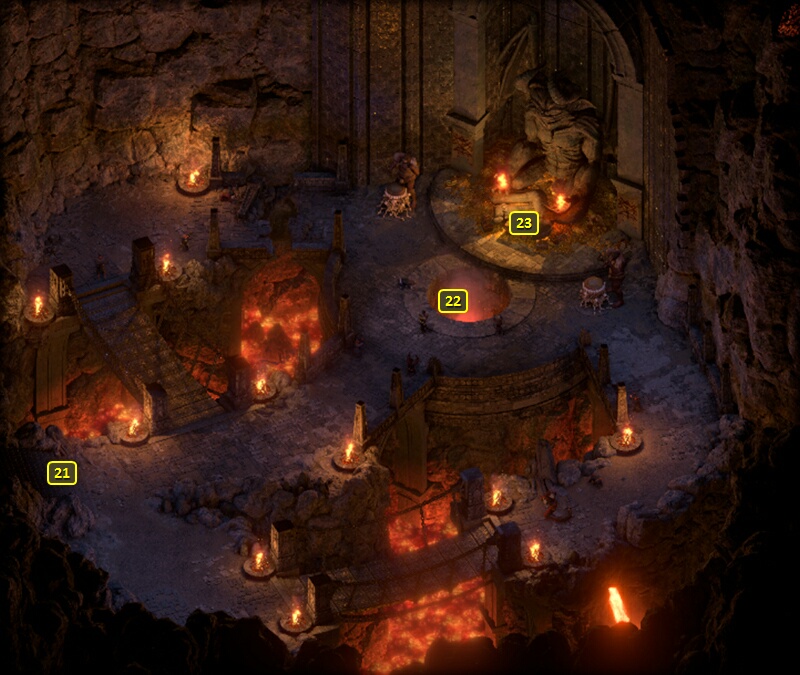
I start off at #21 on the map of the Sanctum of the Drowned Barrows. I now speak to Nemnok at #22. Our agreement was one of the Grimoires he wanted in exchange for the three powerful items in his possession.
Chromoprismatic Quarterstaff. Can add elemental-based Power Levels, and scores Damage that increases in proportion with the wielder's Metaphysics spell.
Mundane Shell. A Medium Shield that has a lot of anti-magic or magic-resistant powers, which can make it an anti-spellcaster shield.
Veilpiercer. A War Bow that is particularly devastating for spirits.
These are certainly powerful and worthwhile items, but they didn't fit into any of my plans. I nonetheless make the exchanges to show the completion of the Task called The Lost Grimoires.
I thereafter return to my ship the way I came.
Belranga
I sail east until I reach the Razai Passage, at #58 on the World Map.
Belranga is an enormous Crystal Spider. There will be several Spider Burrows that continually spawn Crystal Spiders and Crystal Spiderlings.
Belranga herself has three attacks:
A ranged spit attack that can hit multiple characters. It can also temporarily Petrify characters. But it is keyworded to Poison, so any item or ability that confers immunity to Poison will also confer immunity to the Petrification.
A shriek attack that emits in an approximately 2.5m radius around it. It can cause instant death to characters who are at 25% or less Health, although abilities like Barring Death's Door or a Potion of the Final Stand can block that. The shriek can also build up Concentration for it.
Its melee attacks can cause Injuries.
It starts off with sky-high defenses. Each Crystal Spider or Crystal Spiderling you kill permanently decreases all of its Defenses by 1. But each Spider or Spiderling you kill also permanently raises its Accuracy by 1 and its Attack Speed by 1%. The theme of the battle is to kill enough of the Spiders or Spiderlings to drop its Defenses enough to the point where you can attack it reliably. But you don't want to overdo it to the point where it can itself start one-shotting your characters at will. Dropping its Defenses down to about 100 or a little less is in my experience a good balancing point, even on Path of the Damned.
Alliria has her Crushing Doom set up ready to go. She and Pallegina go forward to occupy Belranga's immediate attention. Indeed, they both have Righteous Soul and therefore will be immune to getting Petrified or Paralyzed as the poison spit attacks are key-worded as "Poison". They also summon Ogres and Phantoms as alternative targets to keep the Empress occupied.
Mirke and Xoti and Konstanten go left and start taking down the Burrows one by one.
As the trio takes down each Burrow, Alliria and Pallegina gradually start to shift their position more and more to the left.
At some point the trio has destroyed a few. I now send Xoti and Konstanten to destroy another Burrow that's in the northwest corner. Destroying it will ensure that no Crystal Spiderlings will approach the rear of what will be my next battle position and formation.
It is once I start attacking that northwest corner Burrow that Alliria and Pallegina complete their leftward shifting and start attacking a Burrow that's immediately to the left of Belranga. They switch between wearing it down and eventually destroying it, and renewing their summons to keep Belranga occupied.
Mirke now activates Enduring Dance and regularly summons Dichotomous Souls to hold up Belranga.
It is after I've destroyed the northwest corner Burrow that I put the last phase of my plan into action. There is a bottleneck to the left of Belranga that also leads to the northwest corner Burrow. Alliria and Pallegina position themselves there. Pallegina continues to summon her Ogres every 4 Phrases.
Xoti now activates Enduring Dance as well. Her and Mirke take turns summoning Dichotomous Souls. One summons the Souls at 10 Wounds. I wait for a couple more Wounds to replenish. The other summons the Souls, rinse and repeat. Furthermore, they keep themselves far enough from Belranga so that the Empress won't target them for her spit attacks. But they remain close enough to summon their souls just in front of Alliria and Pallegina.
The point of all these summons is to clog the bottleneck so that Belranga can't reach either Alliria or Pallegina for her Injury-causing Melee Attacks. The point of having Xoti and Mirke alternate and take turns is to ensure that at least one pair of Dichotomous Souls is present, and helping to clog the bottleneck.
Alliria, once things are set up, hits Belranga over and over and over again with Concelhaut's Crushing Doom. They won't knock her Prone, as she's built up Concentration with her shrieks. But they still wear her down over time. It's just a matter of wiping out the Spiderlings once the Empress falls.
I leave, return to my ship, and put my core party back together.
*Evil* Deck of Many Things
I sail northward towards Dunnage at #9. I board the Deck of Many Things. I go through the trouble of setting up the loop and buffs, because the crew of the Deck are all 20+. But I manage to overcome them.
The evil party boards a Principi Expert Captain on the way to sailing for the Crystal Desert.
Once there, I have everyone in the party equip Antidotes in one of their quick-item slots.
I start the battle by sending Mirke ahead of the rest of the party to start the battle. As the tank with the highest Defenses, she can avoid the early attacks of Belranga and the other spiders. At that moment, everyone in the party quaffs an Antidote. Mirke retreats and regroups with the rest of the party.
Tekehu keeps Many Lives Pass By active from the very start of the battle and all the way to the end. The objective is to keep Belranga and the rest of the Crystal Eaters occupied to the maximum extent.
He also casts an Empowered Her Tears Fell Like Rain, which puts Omnipotence on all party members huddled around him.
Xoti immediately casts Salvation of Time, and keeps casting it whenever she can, to keep the loop going.
And since everyone has quaffed an Antidote, the constant pumping of Salvation of Time will mean that everyone in the party will be immunized against the paralyzing poison for the duration of the battle.
Omnipotence plus Salvation of Time also means that the Monks in the party will have their Wounds passively regenerated, so they can constantly keep Dichotomous Spirits on the battlefield to keep Belranga and the other Crystal Eaters occupied.
Xoti also once in a while uses Restore to keep the party at full Health, which will itself be replenished by her Brilliant Inspiration. Tekehu also adds Nature's Balm and Moonwell when he gets the chance. Keeping the party at full health avoids any worry on account of Belranga's scream attack.
The party goes about destroying the mounds one by one while keeping the spiders occupied with their summons. They keep their distance once all the mounds are destroyed, and keep the summons going on Belranga herself. Tekehu attacks her at a distance with The Weyc's Wand. Ydwin does the same with Saint Omaku's Mercy. I eventually wear her down.
Sorcerer's
Place is a project run entirely by fans and for fans. Maintaining
Sorcerer's Place and a stable environment for all our hosted sites requires a substantial amount of our time and funds on a regular basis, so please consider supporting us to keep the site up & running smoothly. Thank you!
Supporting Sorcerer's Place
Has Sorcerer's Place been useful? If you'd like to show your appreciation
for our hard work on the site, and help us pay the bills the site generates
every month, please consider helping support SP.
Thank you!