-

- Forums
- Chatrooms
- Gallery
- Gameplay Videos
- Upload
- Articles
- Mod Reviews
- Shop SP: Games, Movies, Books
|
|
| Pillars of Eternity 2 Video-Based Walkthrough by David Milward |
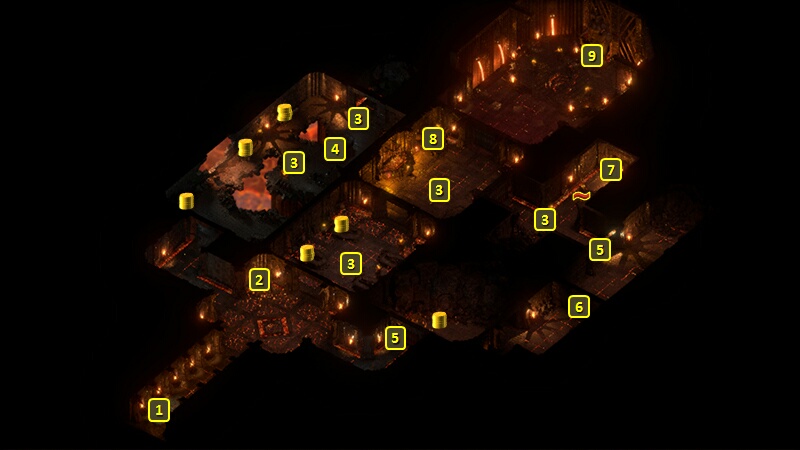
Jagged Keep
*Evil* Ornate Ashen Key
I start off at #1. The evil party decides to kill the Rathun Raider at #2, and thereby commits itself to wiping out all the Rathun in the Jagged Keep.
I go northwest and then northeast, and slaughter another group of Rathun. A sarcophagus at #4 has the Ornate Ashen Key. I return to #2.
*Evil* Firethrower's Gloves
I go east a little bit and use the Ornate Ashen Key to open the door at #5.
I find a hidden button to open a door at #6, and then use the Ornate Ashen Key to open another door.
I go west and kill a couple of Rathun. Ydwin disarms a chest in the hallway going north, and then the trapped chest at #7. The chest itself has Firethrower's Gloves, but the evil party doesn't have any use for them.
*Evil* Knapped Scoria Figurine
I go west and into the central room, where I slaughter a lot of Rathun with the Salvation of Time-Ancestor's Memory loop.
The sarcophagus at #8 has the Knapped Scoria Figurine.
*Evil* Bathor Erkon
The evil party continues north and wipes out the remaining Rathun led by Bathor Erkon.
*Evil* Shrine of Magran
Now I click on the Shrine of Magran at the north end of the room. I use the Torc of Bithakten during the scripted interaction to open the way to the Foundations of the Ashen Maw.
Jagged Keep
The good party arrives at #1 on the map of the Jagged Keep, and goes on ahead to speak to the Rathun Raider at #2. I show her the Torc of Bithakten, and thereby avoid a fight with the rest of the Rathun in the Keep. That also means I can explore the same places and obtain the same loot and items as the evil party, but without slaughtering everything in sight.
The Shrine of Magran will be at #9, guarded by numerous Rathun led by Bathor Erkon. Having the Torc of Bithakten allows me to talk to him to come to an understanding. Alliria makes a start with a Diplomacy check of 5. An Intellect check of 15 would have worked too.
The Aggressive option that you have a score to settle with Eothas, or that Eothas stole a piece of your soul will convince him to let you use the Shrine. The Cruel and Shady options can potentially lead to a fight, and will if you choose to attack afterwards. An Intimidate check of 9 works too. Alliria avoids a fight with a Religion check of 9.
The subject turns to the absence of the Magma Dragon named Jadaferlas. Bathor wants her as an ally for his planned attack on Eothas. If you spared Jadaferlas so that she either remained in her lair or flew away, Bathor will resign himself to what amounts to an unfortunate turn.
There remains a real potential for a fight against him if you killed Jadaferlas. A Bluff check of 8, or a Bluff check of 12 that earns Shady reputation, can avoid his suspicions. Alliria admits to killing the dragon, which could potentially have led to hostility. But Alliria avoids that by pointing out that Jadaferlas betrayed the Rathun by killing the Priestess.
I now interact with the Shrine. Magran herself will speak to you. She declares her intentions to cause the volcano to erupt to try and destroy Eothas' body. She also indicates that she created the Rathun to prevent Kith from reaching Ukaizo, and now considers them expendable.
I take a moment to end the scripted interaction with the Shrine, and speak to Bathor Erkon again. She resolves to convince them to leave the Keep and reveals that Magran is soon going to erupt the volcano. She convinces them to leave with a Metaphysics check of 5 (a Diplomacy check of 5 would have worked too), followed by a Religion check of 10.
She then interacts with the Shrine again to descend to the Foundations of the Maw.
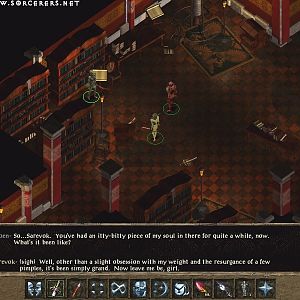
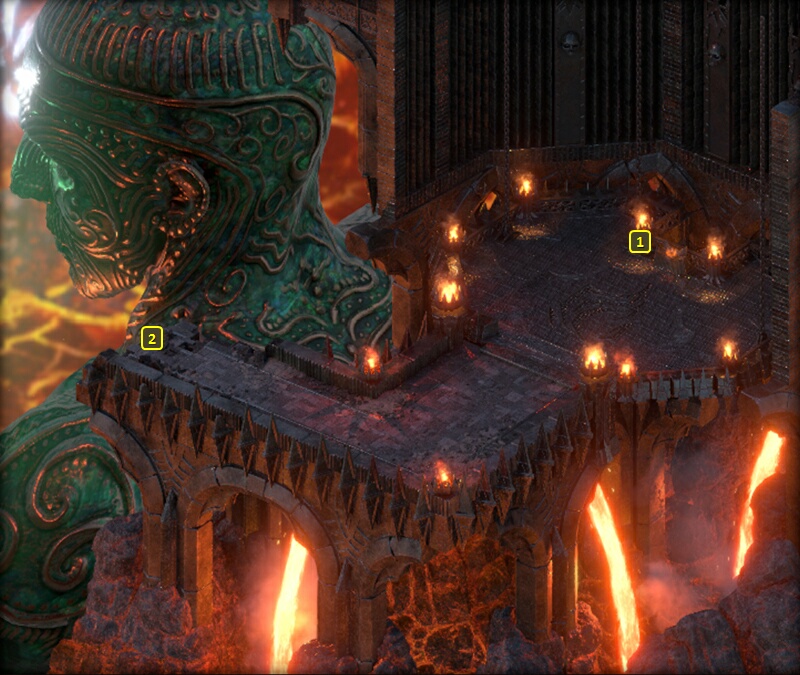
He Waits in Fire
I start off at #1 on the map of the Foundations of the Ashen Maw. I speak to Eothas at #2, which completes the Quest called He Waits in Fire.
And that in turn leads to my Return to Neketaka.