-

- Forums
- Chatrooms
- Gallery
- Gameplay Videos
- Upload
- Articles
- Mod Reviews
- Shop SP: Games, Movies, Books
|
|
Quests | Tasks | Bounties | Items | Characters Act 1 Areas | Act 2 Areas | Act 3 Areas | Act 4 Areas | Caed Nua | White March - Part 1 | White March - Part 2 | |
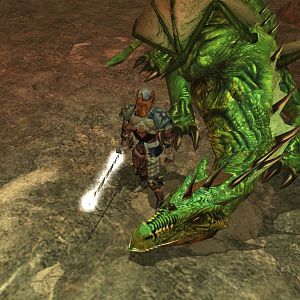
Memories of the Ancients
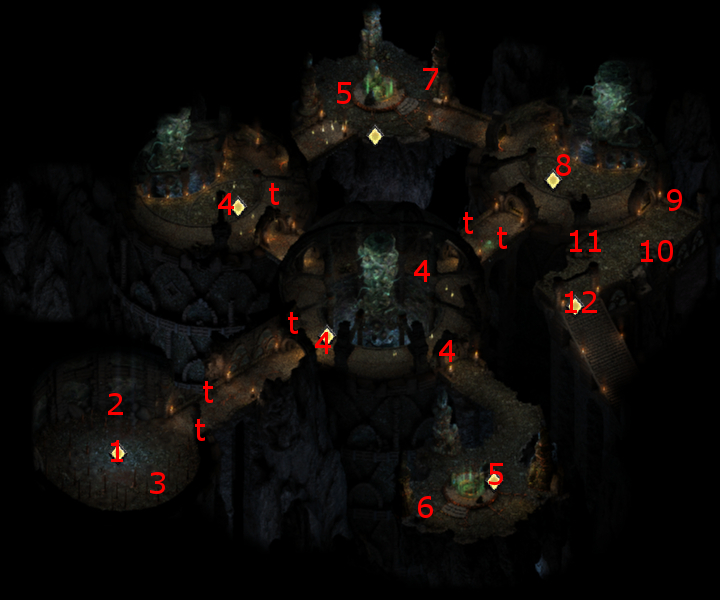
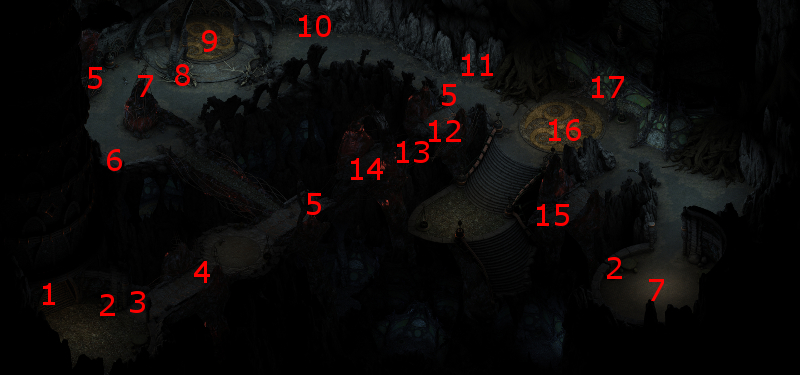
 Here is where you will engage in a prolonged conversation with the spirit of the condemned apostate named Iovara, who was tortured to death by Thaos for trying to spread word that the Gods are actually artificial beings created by ancient Engwithan animancers. Aggressive, Benevolent, Cruel, Honest and Stoic replies are possible very early in the conversation.
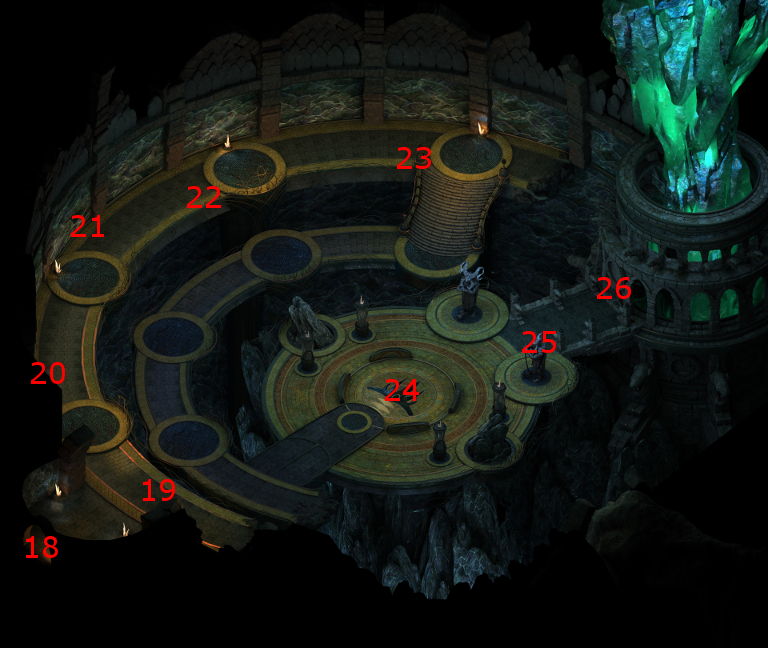
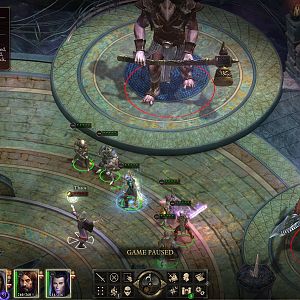 Reaching the point at #24 marks the official end of the quest, and the beginning of your final battle against Thaos, but I'll nonetheless cover the rest of the game to its conclusion.
*** THE END ***
*Coming Soon* A subjective guide to playing Pillars of Eternity, with Youtube videos embedded.