-

- Forums
- Chatrooms
- Gallery
- Gameplay Videos
- Upload
- Articles
- Mod Reviews
- Shop SP: Games, Movies, Books

Brecilian Forest | The Camp | Circle Tower | Denerim | The Final Battle | Haven | Landsmeet | Lothering | Orzammar | Ostagar | Redcliffe | Ruined Temple Areas available as Downloadable Content: Honnleath | Return to Ostagar | Warden's Keep |
Anvil of the Void
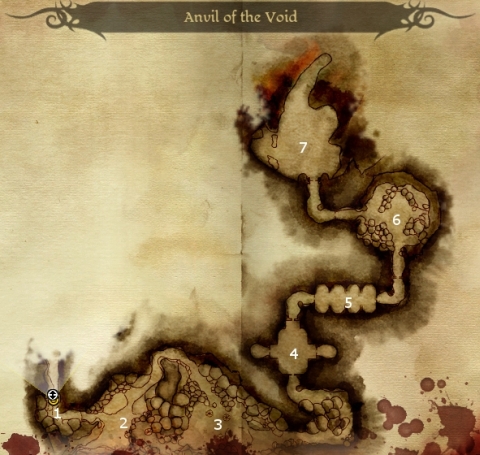
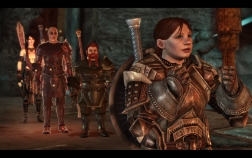 Here is where you'll encounter the Dwarven Paragon, Branka. She will seal the way behind you, meaning that you can't leave until you've made your way to the Anvil of the Void that lies deep within these caves. You'll also be brought to the party selection screen, where it becomes apparent that Oghren has to come along.
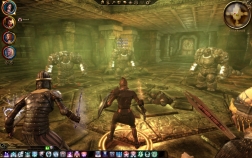 Here is the first of the traps that is designed to prevent entry to the Anvil. It is a chamber filled with poison gas. To shut off the poison gas, you have to hit four levers at the side of the room. The catch is, as soon as you hit one of the levers, one of several Stone Golems in this room will attack. Once it goes down, the next will attack, and the next, and so on.The way to do this is to hit one switch, and immediately run out of the room. This has at least three points. One is that you're not fighting the Golems while taking constant poison damage. The other is that the next Golem has to run a longer distance to catch up to you, and this can buy you time for
 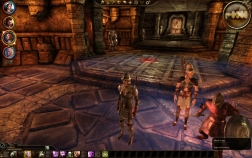 healing spells or whatever other preparations you want to make.The third point is that it also makes possible the drawing-out technique, whereby you can lure forward at most one or two Golems ahead of the rest, and fight them one or two at a time instead of all at once.
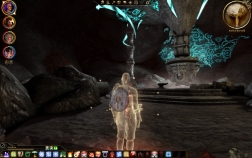 Here is a device that can fairly be described as a Spirit Anvil. It can constantly bring forth Dwarven warrior spirits to attack you. The key to getting through this is, as much as possible, trying to kill one of the spirits in close proximity to one of the smaller side anvils. If you're successful, the small side anvil will start to glow. Click on it to inflict damage on the main device. Repeat this enough times and you'll eventually destroy the Spirit Anvil.
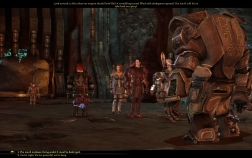 Here is where you will find the other Dwarven Paragon, Caridin, who now exists as an enormous Steel Golem. He wants your help in destroying the Anvil of the Void. Branka then arrives and wants your help in claiming it for herself. The choice is yours.
 When that is done, speak to Branka, and she'll forge the Paragon-Forged Crown so that you can also get the Dwarves of Orzammar to join you in your war against the Darkspawn. She also promises that she'll use the forge so that an army of Golems will also join your force.
