Pillars of Eternity logo


Pillars of Eternity Online Walkthrough by David Milward


INTRODUCTION & ABOUT  |  WORLD MAP  |  WHITE MARCH MAP
General:  
Quests  |  Tasks  |  Bounties  |  Items  |  Characters
Areas:  
Act 1 Areas  |  Act 2 Areas  |  Act 3 Areas  |  Act 4 Areas  |  Caed Nua  |  White March - Part 1  |  White March - Part 2  | 
Disable all ads!

Quests:   Main Quests  |  Act 1 Side Quests  |  Act 2 Side Quests  |  Caed Nua Side Quests  |  Act 3 Side Quests  |  White March Part 1 Quests  |  White March Part 2 Quests  |  Companion Quests  | 

White March Part 2 Main Quests:   The Forgotten Army  |  The Iron Flail  |  The Rising Tide  |  Lair of the Eyeless  | 
White March Part 2 Optional Quests:   Iron and Flame  |  Whispers in the Dark  |  Ready the Cannons  |  The Phylactery's Promise  | 

Ready the Cannons

  1. The quest triggers once you have completed The White Forge quest, and have rested anywhere outside the White March map. What ensues is a dream of an army marching over the north. That becomes an obvious cue to return to Stalwart Village to find out more.

  2. Stalwart Village

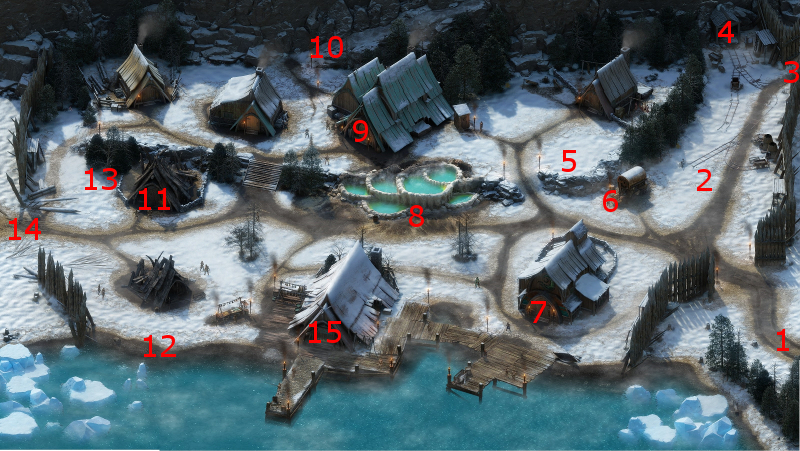
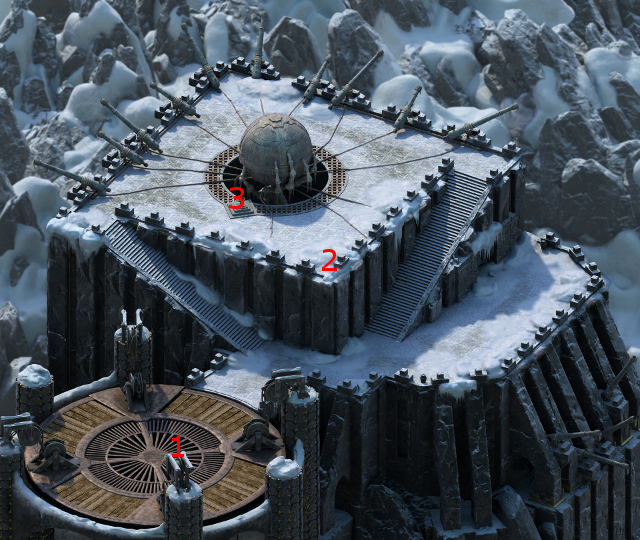
    The first time you return to Stalwart Village after completing Part 1, you'll find yourself at #1 on the Stalwart Village map.

    Step forward just a little, and you'll find yourself at #5. A cutscene ensues whereby a crowd of bystanders gather anxiously around a man named Deyran. Benevolent, Cruel, Passionate, Rational, and Stoic replies are possible during the conversation. The sequence triggers the quest.

    Durgan's Battery

  3. Wengra is at #3 on the Durgan's Battery map. Aggressive, Clever, Cruel, Rational and Stoic replies are possible while in conversation with her. A Lore check of 11 also helps provide additional background information. What Wengra will want is your aid in clearing out the West Tower so that she can make the cannons at the top of the tower operational again.

  4. The gate at #4 provides an entrance to the Main Hall at #1.

  5. Main Hall

  6. The stairs at #3 on the Main Hall map provide an entrance back to Durgan's Battery at #5.

  7. The stairs at #6 on the Durgan's Battery map provide a way up to the Lower West Tower at #1.

  8. Lower West Tower

  9. You will need three items to be able to get to the next level of the tower. One of them is the Dwarven Lever, which in a trapped chest at #11.

  10. Another is the Pargrun Rust-Dissolver, which is in a bookcase at #17.

  11. Another is the Patinated Cog, which is in a pile at #21. A potential problem is that the obvious way to reach it is to go through the room at #22, which is filled with poison gas and has several Diseased Puddings which will be immune to the poison gas. One way to deal with this is to lure the Diseased Puddings out of the room and kill them, and then brave some damage from the gas to get the Patinated Cog.

    Another way is to click on the wall at #19 to start a scripted interaction whereby you can both end up on the other side at #20 and safely dissipate the gas that is trapped in the room at #22. First, the character you select will need either a Might score of 14 or a Hammer and Chisel to break through the wall.

    You next go along the ledge and break through the other wall. The gas from the room at #22 will start to come out from the fissure. The character you selected needs to make a Constitution check of at least 16 to avoid sustaining an injury.

    After that, with or without an injury, you'll end up at #20 and you can grab the Patinated Cog at #21.

  12. The room on the north side has the platform to reach the next level, and you'll need the three items to restore the platform to a useable state. The chain at #26 needs to be restored with the Pargrun Rust-Dissolver.

  13. The lift mechanism at #27 needs to be restored with the Patinated Cog from #21.

  14. The switch at #28 needs to be restored with the Dwarven Lever from #11.

    Once all three components are restored, you can then hit the switch here to lift the party up to the Upper West Tower. Problem is, you will potentially face ambush from several Skuldraks. There are at least three ways to address the situation during a scripted interaction:

    • You can have your party stand in the middle of the platform. Your party will sustain injuries as a result, and you'll have to fight a large number of Skuldraks once you're at the top.

    • You can position your characters at the edges of the platform. The character with the lowest Athletics score will slip and cling for dear life at the edge of the platform. Rescuing your character requires expending a Rope and Grappling Hook, a Dexterity score of 22, the Barbarian's Wild Sprint ability, or the Monk's Flagellant's Path ability. If you do not take one of these actions, the party member will fall and die permanently, being forever lost to you as a joinable companion. Your main character, however things go, will sustain at least one injury. You will still have to fight some Skuldraks, just not as many.

    • A character with a Mechanics skill of at least 10 can repair the platform so as to avoid fighting any Skuldraks at all. The higher the Mechanics skill, the less turns it will take and the less injuries that will be sustained.

    Once this process is complete, the party will find itself in the Upper West Tower at #1. The platfrom, from this point onwards, will now serve as a transit point between both the Lower and Upper levels of the Tower.
  15. Upper West Tower

  16. White Forge
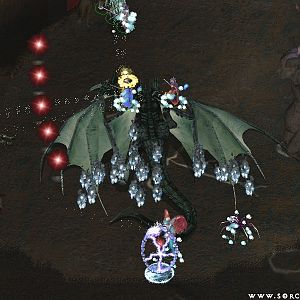
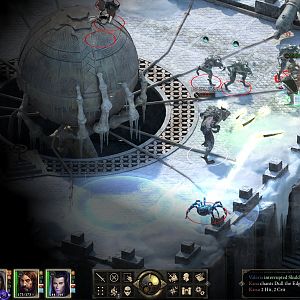
Up either set of stairs to #2 will be numerous Young Skuldraks, Skuldrak Screechers, and Moon Spiders. This time, they are led by the Elder Skuldrak. The battle is winnable with little risk if you keep your party at the stairs, your tanks forming the front line and your spellcasters safely behind and able to belt the enemies with both crowd-control and damaging spells.

    The critters leave behind the usual Skuldr Ears and Spear Spider Legs. The Elder leaves behind a Soulbound shield named the Dragon's Maw.

  17. The contraption at the top of the tower can be activated by clicking on the cog wheel at #3, which progresses the quest.

  18. Report your success to Wengra, and she'll reward you with two more Durgan Iron Ingots.


Amazon.com
Amazon.ca
Amazon.co.uk
Sorcerer's Place is a project run entirely by fans and for fans. Maintaining Sorcerer's Place and a stable environment for all our hosted sites requires a substantial amount of our time and funds on a regular basis, so please consider supporting us to keep the site up & running smoothly. Thank you!

Disable all ads!