The chest here will have a couple of random weaopns of either Fine or Exceptional quality, plus a few Torches.
There will be large groups of Ondrites at these spots. They will attack on sight if you've been previously slaughtering other Ondrites throughout the temple.
They will still stop you and insist that you turn back even if you have run of the temple as part of The Rising Tide quest. You can comply with their request and return to the Halls of Presence, or you can attack them, in which case the rest of the Ondrites throughout the temple will turn hostile as well.
However, they will let you by peacefully if you properly completed the Recitation before High Abbott Kaoto during The Rising Tide quest, such that you can now tell them that you have Kaoto's permission to pass.
The chest here will have an Amulet of Health plus a random high-tier gem (e.g. Sapphire).
The crate here will have a random potion and random food items.
A skeleton here will have a belt called Arthek's Cord.
A skeleton here will have a random magical item and a few gems.
There will be a few Moon Spiders and Moon Spiderlings here. They leave behind Spear Spider Legs.
There will also be two more skeletons here. One can be looted for a random weapon and a potion. The other can be looted for a random weapon, Camping Supplies, and possibly another random miscellaneous item or two.
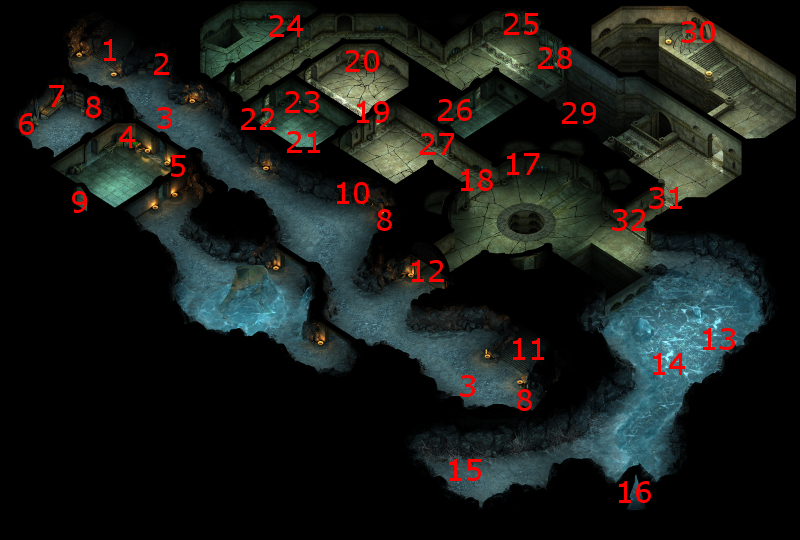
The lever here can be used to open the door at #18.
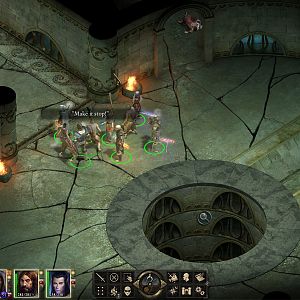
There will be a lot of Low Tide brothers about the central room of the Halls of Silence. They will ignore you. However, they will attack you if use the lever at #17 to open this door. All of them leave behind simple Robes when killed.
There will be groups of Ondrites at these spots who will attack on sight. They leave behind Capes, Clubs, Daggers and Robes when killed.
A hidden niche here will have high-tier gems (e.g. Sapphires) in it.
Here is Farentis, who offers a choice as part of The Rising Tide quest. He'll also give you the Ornate Cracked Key, which opens the door at #22.
This door can only be opened with the Ornate Cracked Key, which is given by Farentis at #21.
There will be a couple of urns in this corner. One of them has a couple of random scrolls. The other has a random potion and some random food items.
This urn will have a few gems in them.
This urn will have a random potion and some random food items in it.
The lever here can be used to open the door at #27.
This door can be opened by using the lever at #26.
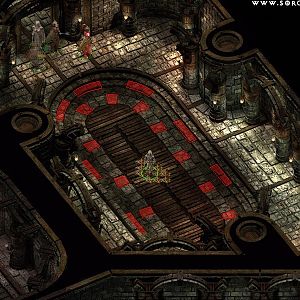
The symbols here need to be manipulated during a scripted interaction in order to raise a water bridge at #29. The order is revealed by the mural at #18 in the Abbey of the Fallen Moon. The correct order is:
City in Flames
Tidal Wave
Barren Shore
Flourishing City
The next step is to perform the Sign of the Tide during the scripted interaction, which can be learned either directly from High Abbott Kaoto at #11 in the Halls of Presence or by reading his Journal, which is at #13 in the Halls of Presence.
Perform these steps correctly, and a water bridge will rise at #29 allowing you to get across the east.
A water bridge will rise here permitting passage eastwards if you properly manipulate the symbols and perform the Sign of the Tide at #28.
Here is what's for all intents and purposes a lever that involves a choice regarding The Rising Tide quest.
You can choose to switch the lever to the open gate setting, which will allow the Low Tide brethren to escape and free themselves. Doing so will cause any remaining High Tide brethren to become hostile and attack you on sight, including High Abbott Kaoto.
You can instead choose to switch the lever to the rising tide setting, which will cause most of the Halls of Silence to flood over, condemning all of the Low Tide brethren within to drown to death.
Either choice leads to all of the Low Tide brethren being gone for good, and you acquiring Ondra's Witness, an item you'll need to make progress.
The lever here can be used to open the door at #32.
This door can be opened by using the lever at #31.
Sorcerer's
Place is a project run entirely by fans and for fans. Maintaining
Sorcerer's Place and a stable environment for all our hosted sites requires a substantial amount of our time and funds on a regular basis, so please consider supporting us to keep the site up & running smoothly. Thank you!
Supporting Sorcerer's Place
Has Sorcerer's Place been useful? If you'd like to show your appreciation
for our hard work on the site, and help us pay the bills the site generates
every month, please consider helping support SP.
Thank you!

 There will be a lot of Low Tide brothers about the central room of the Halls of Silence. They will ignore you. However, they will attack you if use the lever at #17 to open this door. All of them leave behind simple Robes when killed.