-

- Forums
- Chatrooms
- Gallery
- Gameplay Videos
- Upload
- Articles
- Mod Reviews
- Shop SP: Games, Movies, Books
|
|
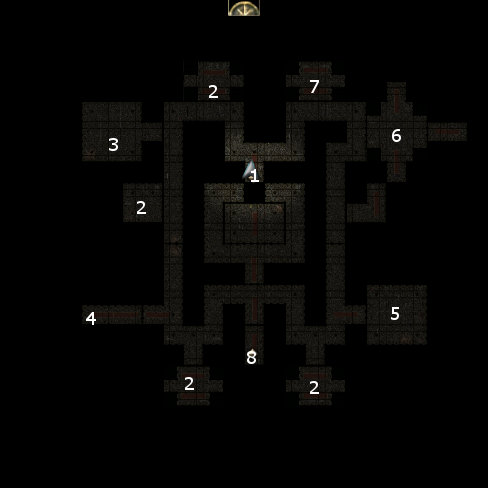
Tomb of Betrayers
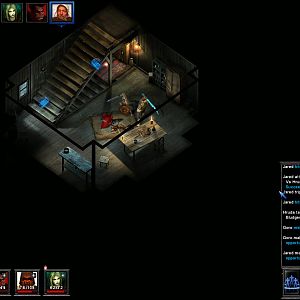
 Here you must do battle with the powerful spirit of an Elven archer named Renthick. Hes very fast and will constantly shy away from melee combat. This presents a problem in that the many pressure plates scattered throughout the room will unleash arrows. If you have missile weapons of your own, nows a good time to use them. Spells like Magic Missile and Flame Arrow are also ideal. Hell leave behind A Study of the Fantastical Vestments of the Priests of the Realms, a Shortbow +2, and 10 Arrows of the Vampire.