-

- Forums
- Chatrooms
- Gallery
- Gameplay Videos
- Upload
- Articles
- Mod Reviews
- Shop SP: Games, Movies, Books
|
|
Quests | Tasks | Bounties | Items | Characters Act 1 Areas | Act 2 Areas | Act 3 Areas | Act 4 Areas | Caed Nua | White March - Part 1 | White March - Part 2 | |
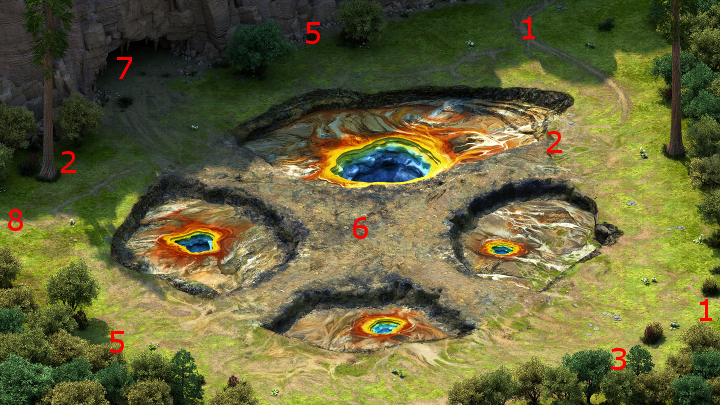
Searing Falls
 There will be bands of Xuarips wandering about, including Champions, Priests and High Priests. The Skirmishers and Champions will leave behind their usual Xuarip Spears, Medium Shields, and Xuarip Tongues. The Priests and High Priests will leave behind their usual Xuarip Quarterstaves.
There will also be the odd Small Flame Blight. Their explosion on death does much less damage than that of a full-sized Blight, so they aren't particularly dangerous. They leave behind Primal Flames when killed.
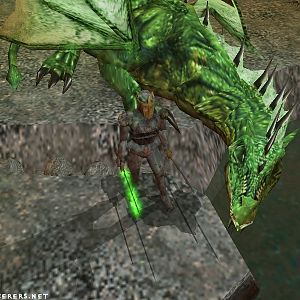
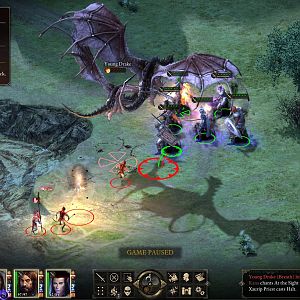
A new foe will several Young Drakes, and the odd Drake, in the area. These creatures emit a passive fear aura that can leave characters with the Frightened status (i.e. reduced accuracy being the crucial effect). They can also knock down single party members with their physical attacks. They can also use a breath weapon that resembles a weaker version of the Wizard's Fireball spell. They leave behind Drake Talons when killed.
All of these creatures patrol the area, so avoiding combat is difficult short of everyone having very good Stealth scores that will let them simply slip by unnoticed while in scouting mode. My advice is to try and deal with them piecemeal, a few at a time. Inch along and let the odd one or two come at you. Save when you've finished the battle. Battling several Drakes and several Xuarips all at once, which is entirely possible, should be avoided, even if it means reloading your savegame.
.