-

- Forums
- Chatrooms
- Gallery
- Gameplay Videos
- Upload
- Articles
- Mod Reviews
- Shop SP: Games, Movies, Books

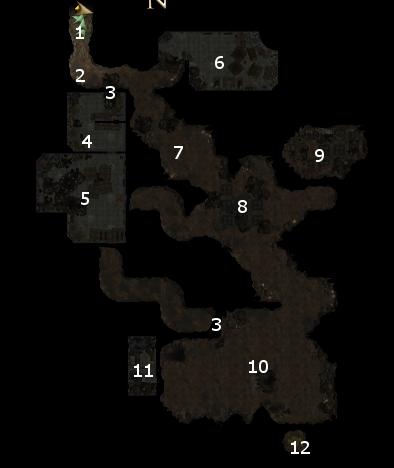
Dragon Caves

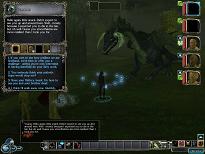
 Here is the dragons’ hoard. You may have noticed first that the dragons aren’t in the cave at the moment. And remember the other Tarmas you saw when you first entered the caves? It’s time to head back to West Harbor. Outside the gates you’ll find Mayor Buckman, the Lannons, and the real Tarmas. Buckman’s deal with the dragons gets fully explained. In the meantime, one of them apparently assumed a magical disguise as Tarmas to get inside the town and drive out the residents. Now it is up to you to deal with the dragons. Their acid breath doesn’t actually do that much, and they will fall to sustained melee attacks. So get them one at a time, and then take care of their Lizardfolk minions. One of the Lizardfolk leaves behind a Greatsword +2. You get 1,200xp and the Dragonslayer feat. Mayor Buckman also offers you the local training grounds free as a trading post for Sa’Sani. In the meantime, you can now loot the dragon hoard, which will contain gems of varying price, as well as a Katana +2, a Chainmail +2, and Littlefang.

