-

- Forums
- Chatrooms
- Gallery
- Gameplay Videos
- Upload
- Articles
- Mod Reviews
- Shop SP: Games, Movies, Books

Academy: Classrooms
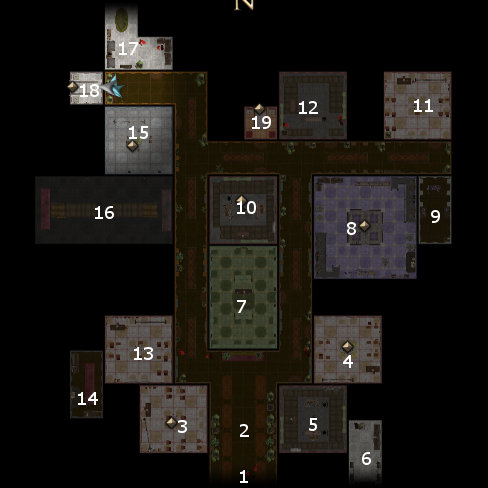
Your ultimate objective for being here is to be able to somehow speak to the now deceased deity, Myrkul. To gain access to Mykul, you have to perform a series of quests that often oblige your party to travel back and forth between this area and the Instructors’ Quarters and the Headmistress’ Tower.
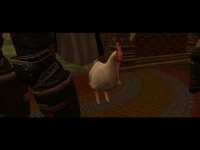 Now here’s the catch, you can only leave this room with one of the souls. If you try to leave with more than, the room’s magical defences will activate. This is worth checking out at least once.
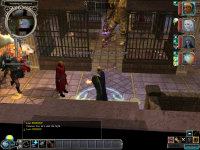 At the south end of the room is a Golem workcraft bench. It holds a Hammer of Golemcraft. To create a Golem, place a head, torso, legs, arms and a Spirit Essence in the bench. Now use the Hammer on it and voila … your Golem is ready to fight. You can also dissemble it if you want to add a different part and re-create it. You can repair it in between its fights. Bear in mind that assembling the Golem from generic pieces means that it definitely won’t stand a chance against the Maiden. I find that this combination works best: Galvanized Golem Torso, Scorching Gaze Golem Head, Shocking Golem Arms, and Swift Golem Legs. It’s a possible but not guaranteed win against the Maiden.
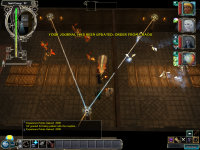 Here is the puzzle. Two groups of Mephits are separated from each other by a partitioning wall that has a closed gate. Each group is a mix of Fire Mephits and Ice Mephits. There’s a device near the gate. If you click on the device, one Mephit from each side of the wall, whichever ones are closest to the gate, will trade places. Your goal is to have it so that only Ice Mephits are on one side of the room while only Fire Mephits are on the other side of the room. You can click on a nearby Obelisk to kill a pair of the Mephits and make things easier, but you’ll only get 2,000xp at the end of it. If you’re patient enough and manage to complete the puzzle without killing any of the Mephits, you’ll get 4,000xp total. Either way, head back to #15 and find the Fragmented Soul. You’ll need this later on.
