Baldur's Gate 2 Online Walkthrough by Montresor


CREATING A CHARACTER  |  GENERAL TIPS AND TRICKS  |  NPCs  |  ITEM LISTS  |   SHOPS   
Shadows of Amn: Chapter 1  |  Chapter 2  |  Chapter 3  |  Chapter 4  |  Chapter 5  |  Chapter 6  |  Chapter 7  
Throne of Bhaal  |  Watcher's Keep  
About the Walkthrough  |  Organization of the Walkthrough  |  About the Maps  |  About the Author  |  Where to Begin
Disable all ads!

Overview of Chapter 4  |  Quests in Chapter 4 
Areas in Chapter 4
Brynnlaw  |  The Asylum  |  The City of Caverns

ESCAPE FROM BRYNNLAW

When you have defeated Irenicus in his laboratory and have gone up to the First Level of the Asylum, you will meet your old "friend" Saemon Havarian at 5. He offers to help you escape Brynnlaw and sail you back to Amn, and for free! The alternative is to find a key to Irenicus' portal and jump into the Underdark, so take Saemon up on his offer. Sure, he's only after advantage to himself, what else is new, but you'll miss a ton of experience and some pretty cool items by refusing Saemon's "offer".
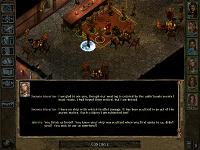
  1. Saemon transports you and your party to the Outside Area at 3. He suggests that you should go back to Brynnlaw and get what you need, then meet him in the Vulgar Monkey.

  2. However, before going back to Brynnlaw, I suggest you go back inside the Asylum and loot Level 1. You'll have to kill a Stone Golem at 6 but you should also find the Staff of Thunder and Lightning, the Horn of Silence, and one of the rare and valuable Rogue Stones.

  3. Go back to Brynnlaw and sell off any unwanted loot at the shop at 7.

  4. Go to the Vulgar Monkey and rest. You will have a most disturbing dream, after which you will be able to turn into The Slayer at will.

  5. Speak to Saemon Havarian at 4. He would still like to help you but unfortunately he has *just* learned (Yeah right!:-)) that someone has scuttled his ship. So, you need to help him commandeer another ship.
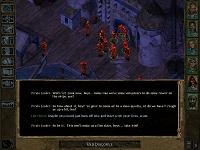
  6. His idea is to steal the ship of the Pirate Lord Desharik himself. If you can only find the Pirate Horn used to signal the gateman... The horn can be found in the house of his consort Cayia at night.

  7. Rest, or go sightseeing in Brynnlaw, until nightfall. At 10 in Brynnlaw is a group of pirates who want to "enlist" you as rowers on their ship; you may as well eliminate them now. Otherwise you'll have to pass them on the way to your ship once you have stolen the Pirate Horn.

  8. When night has fallen, go to Cayia's house at 4 in Brynnlaw. Enter and you will witness a short exchange between Cayia and a man in her bed who is definitely not Desharik. It ends with Cayia falling asleep.

  9. However, she immediately wakes up and raises the alarm. Kill the three Pirates who show up, then loot the house. One of the chests and the closet (beware; it is protected with a Disintegrate trap!) hold minor treasure. On the table you will find the Pirate Horn, a Rogue Stone, and some gold.

  10. Exit back to the general Brynnlaw map and find Saemon Havarian waiting for you at 11.

    NOTE: Before speaking to Saemon Havarian, I suggest that you create a savegame. I have had some problems with the scripts at this time.

  11. Speak to Saemon and give him the Pirate Horn. You immediately go to the ship and prepare for launch. But...

  12. ...Desharik and several of his men show up and attempt to foil your escape. So you'll have to kill them. Once all his men are dead, Desharik flees the scene and you cast off on your way back to Amn.
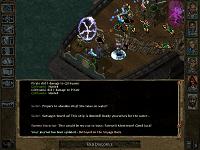
    Just to show his immense gratitude, Saemon insists that you accept a reward, the Silver Blade. How nice of him, eh? ;-)

  13. So the voyage back to Amn begins. But after a few days you are boarded by Githyanki. Turns out they are after a holy relic of theirs, namely the Silver Blade he pressed on you. Yeah, real nice of him! ;-)

  14. Saemon should say something like "All right, men. Prepare yourselves to be boarded." If he doesn't, and the Pirates and Githyanki start fighting, select one of your characters and speak to Saemon to force the script to start.

  15. The Githyanki kill several of the sailors with their psionic powers, then board the ship and demand their holy relic. Saemon quickly fingers you as the culprit.

  16. Battle ensues. But before you can exchange many blows, Sahuagin board the ship!

  17. That is Saemon's cue to teleport out of there. The Githyanki also turn tail and run for their ship. You and your party end up in deep water, literally!

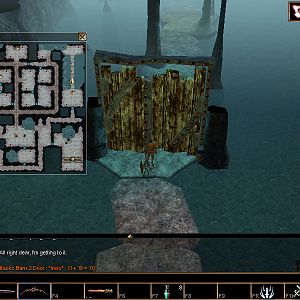
  18. And wake up to find yourselves in the City of Caverns, ready to help the Sahuagin in their civil war. Which is the next order of the day.


Amazon.com
Amazon.ca
Amazon.co.uk
Sorcerer's Place is a project run entirely by fans and for fans. Maintaining Sorcerer's Place and a stable environment for all our hosted sites requires a substantial amount of our time and funds on a regular basis, so please consider supporting us to keep the site up & running smoothly. Thank you!

Disable all ads!