-

- Forums
- Chatrooms
- Gallery
- Gameplay Videos
- Upload
- Articles
- Mod Reviews
- Shop SP: Games, Movies, Books
|
|
Brecilian Forest | The Camp | Circle Tower | Denerim | The Final Battle | Haven | Landsmeet | Lothering | Orzammar | Ostagar | Redcliffe | Ruined Temple Areas available as Downloadable Content: Honnleath | Return to Ostagar | Warden's Keep |
Ruined Temple | Mountain Lair | The Gauntlet | Wyrmling's Lair |
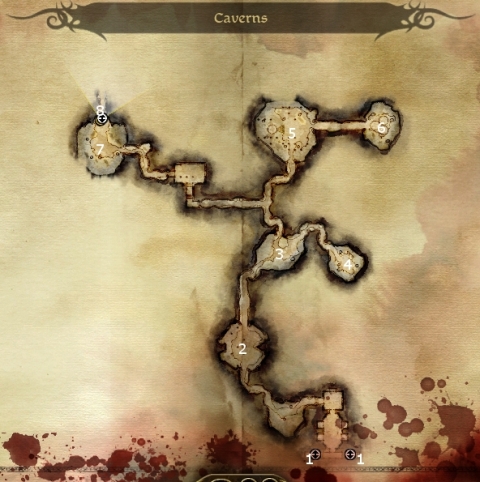
Wyrmling's Lair
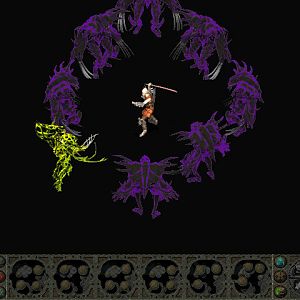
 Here you'll notice what appears to be an animal pen. Once you come in, three Drakes will attack you from behind. Drakes will have, besides their melee attacks, special abilities like breathing fire and roaring, which can stun nearby characters. They are also capable of an Overwhelm attack that can kill a character outright. Each Drake when killed will leave behind a Drake Scale which can be used in the crafting of special armor. A nearby Pile of Dragon Filth also has a Stone Warrior Statuette which Alistair will appreciate as a gift.
 Here you'll encounter a Cult Overseer, who happens to be an Arcane Warrior that can bolster himself with abilities like Shimmering Shield and Combat Magic. He will also be assisted by several Cultists and Dragonlings, as well as two Drakes. Here you're faced with a strategical choice. One choice is to make a b-line straight for the Overseer. This means having to risk getting overwhelmed by the hordes, so don't try this unless you have crowd-stopper abilites like Captivating Song, Waking Nightmare, Blood Wound, and such. Another approach is to lure the hordes away from the Overseer and deal with them separately. This is actually fairly reliable since the Overseer tends to stay on the top of his little pyramid, but you might have to risk a spell or two. The Drakes will each leave behind a Drake Scale, while the Overseer will leave behind Spellweaver and possibly another random item.
 Here you will meet the leader of the Cult, Kolgrim. He will be supported by two other Cultist Reavers, as well as two Cult Mages who are spread far apart. Kolgrim, if you allow him to, will explain the Cult's beliefs. They believe that the High Dragon that occupies this mountain is the glorious reincarnation of the Prophetess Andraste, and they will do whatever they can to protect her and enhance her power.
 Kolgrim is however open to a deal. He offers you a Vial of Dragons Blood to pour into the Urn of Sacred Ashes, in the belief that this will help the Dragon, the reincarnated Andraste, realize her true potential. Sten will dislike the idea of encouraging 'worship of lizards' as opposed to pursuing combat against a Dragon. Keep in mind that fulfilling Kolgrim's request is an action that will not go over well to say the least with your good-aligned companions, Leliana and Wynne in particular.