-

- Forums
- Chatrooms
- Gallery
- Gameplay Videos
- Upload
- Articles
- Mod Reviews
- Shop SP: Games, Movies, Books
|
|
Ammon Jerro visits Shandra Jerro's Farm
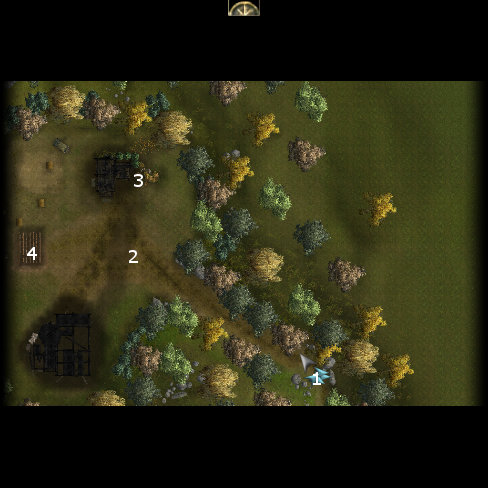
 Here you’ll find Ammon Jerro standing by himself in the field. That is until an ‘old friend’ shows up, Koraboros the Pit Fiend. Koraboros taunts Ammon for his role in Shandra’s death and makes plain his intent to avenge himself upon Ammon for imprisoning him within the Haven. When he notices you, he intents to drag you to Baator/Hell as well. He immediately summons two Horned Devils to help him. Don’t bother with the Horned Devils, since if you let him, Koraboros will summon more help non-stop and this can lead to you getting easily overwhelmed. Go straight for Koraboros and he should fall under a sustained melee assault. The Pit Fiend will leave behind a Staff of the Magi.
Once you’re done here, its time to head back to the Keep, for battle is about to be joined on it's outskirts.