-

- Forums
- Chatrooms
- Gallery
- Gameplay Videos
- Upload
- Articles
- Mod Reviews
- Shop SP: Games, Movies, Books
|
|
Brecilian Forest | The Camp | Circle Tower | Denerim | The Final Battle | Haven | Landsmeet | Lothering | Orzammar | Ostagar | Redcliffe | Ruined Temple Areas available as Downloadable Content: Honnleath | Return to Ostagar | Warden's Keep |
Dalish Camp | East Brecilian Forest | Brecilian Ruins, Lower Level | Brecilian Ruins, Upper Level | Brecilian Ruins, Werewolf Lair | West Brecilian Forest |
Brecilian Ruins - Lower Level
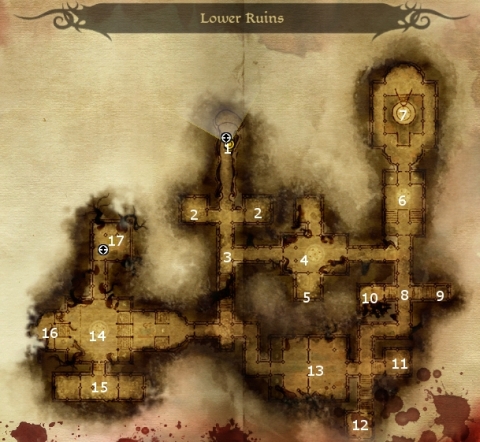
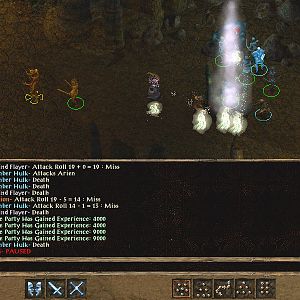
 Here you'll encounter the spirit of an Elven boy, who will run away at some point. Now what's in the works is an assault by a good many Skeletons. Even after the patch, it can be easy for your characters to get overwhelmed. My recommended strategy is as follows: 1) Run back the way you came so that the Skeletons have to come at you through the narrow hallway. 2) Set up one or two spells that hinder their movement, so that as many as possible stay stuck in the room (e.g. Earthquake, Glyph of Repulsion). 3) Now blanket the area with at least one storm spell (e.g. Inferno, Blizzard, Tempest) and keep your characters back. Let them come to you for the mop up. If you don't have a storm type spells, at the very least use repeated castings of Area of Effect spells. A chest in here has a random item.
 In this room are containers with some random items. You'll also notice a large platform in the middle, the stairs to which are to the north. A couple of Skeleton Archers will be waiting at the base of the stairs. Once you get to the top, you'll notice the spirit of an Elven Woman wandering around. She's rather lost it, and she'll end up attacking you with the help of two Greater Shades. Try to take her out first as quickly as you can, since she can cause a lot of damage with her spells. Crushing Prison can do wonders here. Then go to work on the Shades. The bones hold a random item, while the Elven Burial Chamber holds the Juggernaut Plate Armor (Silverite), which is part of the Juggernaut item set.
 Here make a point of tapping your -tab- key, so that you can find something potentially important. Here is a phylactery holding the spirit of a former Elven warrior and mage, who wants release. With enough conversing, the spirit is willing to share its knowledge with you in exchange for granting it release. To do this, simply place the phylactery on the nearby Altar. If you want, you can select the conversation options that involve learning its knowledge. This will unlock the Arcane Warrior specialization. Whether or not you uphold your end of the bargain by granting it release is an ethical choice that is entirely up to you.