-

- Forums
- Chatrooms
- Gallery
- Gameplay Videos
- Upload
- Articles
- Mod Reviews
- Shop SP: Games, Movies, Books
|
|
The plot of the third and final game of the trilogy is set in motion by the escape of the God of Evil, Tarjan, from his imprisonment by the other Gods. Your mission starts off with your party trying to bring the various deities of the old pantheon together to defeat Tarjan yet again. But as the story progresses, the onus for saving the universe falls more and more on the party itself.
Combat will require some explanation, so I have a separate page for it here.
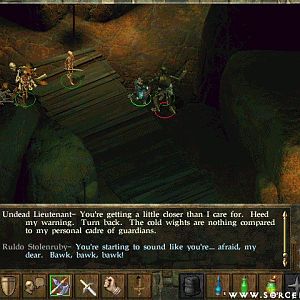
The guide is embedded with Youtube videos of my playthrough, with those videos accompanied by my explanations of what is going on and what decisions I am making.
PARTY MEMBERS AND THEIR DEVELOPMENT
As for my party, I designed my Heroes on the basis that they could be solid contributors to combat with the monsters during the gameplay itself, and yet also become credible members of the next pantheon of the gods at the conclusion of the trilogy. They are as follows:
All the maps in this solution are screen captures. When you see a smaller map, simply click on the thumbnail of the map to see the full version.
I sometimes refer to locations on a map with a notation of (insert number)N (insert number)E. The notation pinpoints the location as the number of squares north and the number of squares east of the square that is at the southwest corner of the map (which would make that square 0N 0E).
Note that it is also possible to loop from one side of the map to the other by passing through the edge of the map, provided that no wall is blocking your passage. For example, suppose you're standing at 15N 21E, and there's no wall on the east side of that square. If you step ahead east, you'll wind up at 15N 0E.
I’ve submitted past walkthroughs to Sorcerer’s Place as Dave Milward. My alias here, however, is Beren. If there’s anything you’d like to share with me, by all means you’re welcome to send me an e-mail to beren or contact me via PM on the SP message boards. If I find anything particularly helpful and worth mentioning specifically, I’ll give credit where credit is due in updates.