-

- Forums
- Chatrooms
- Gallery
- Gameplay Videos
- Upload
- Articles
- Mod Reviews
- Shop SP: Games, Movies, Books
|
|
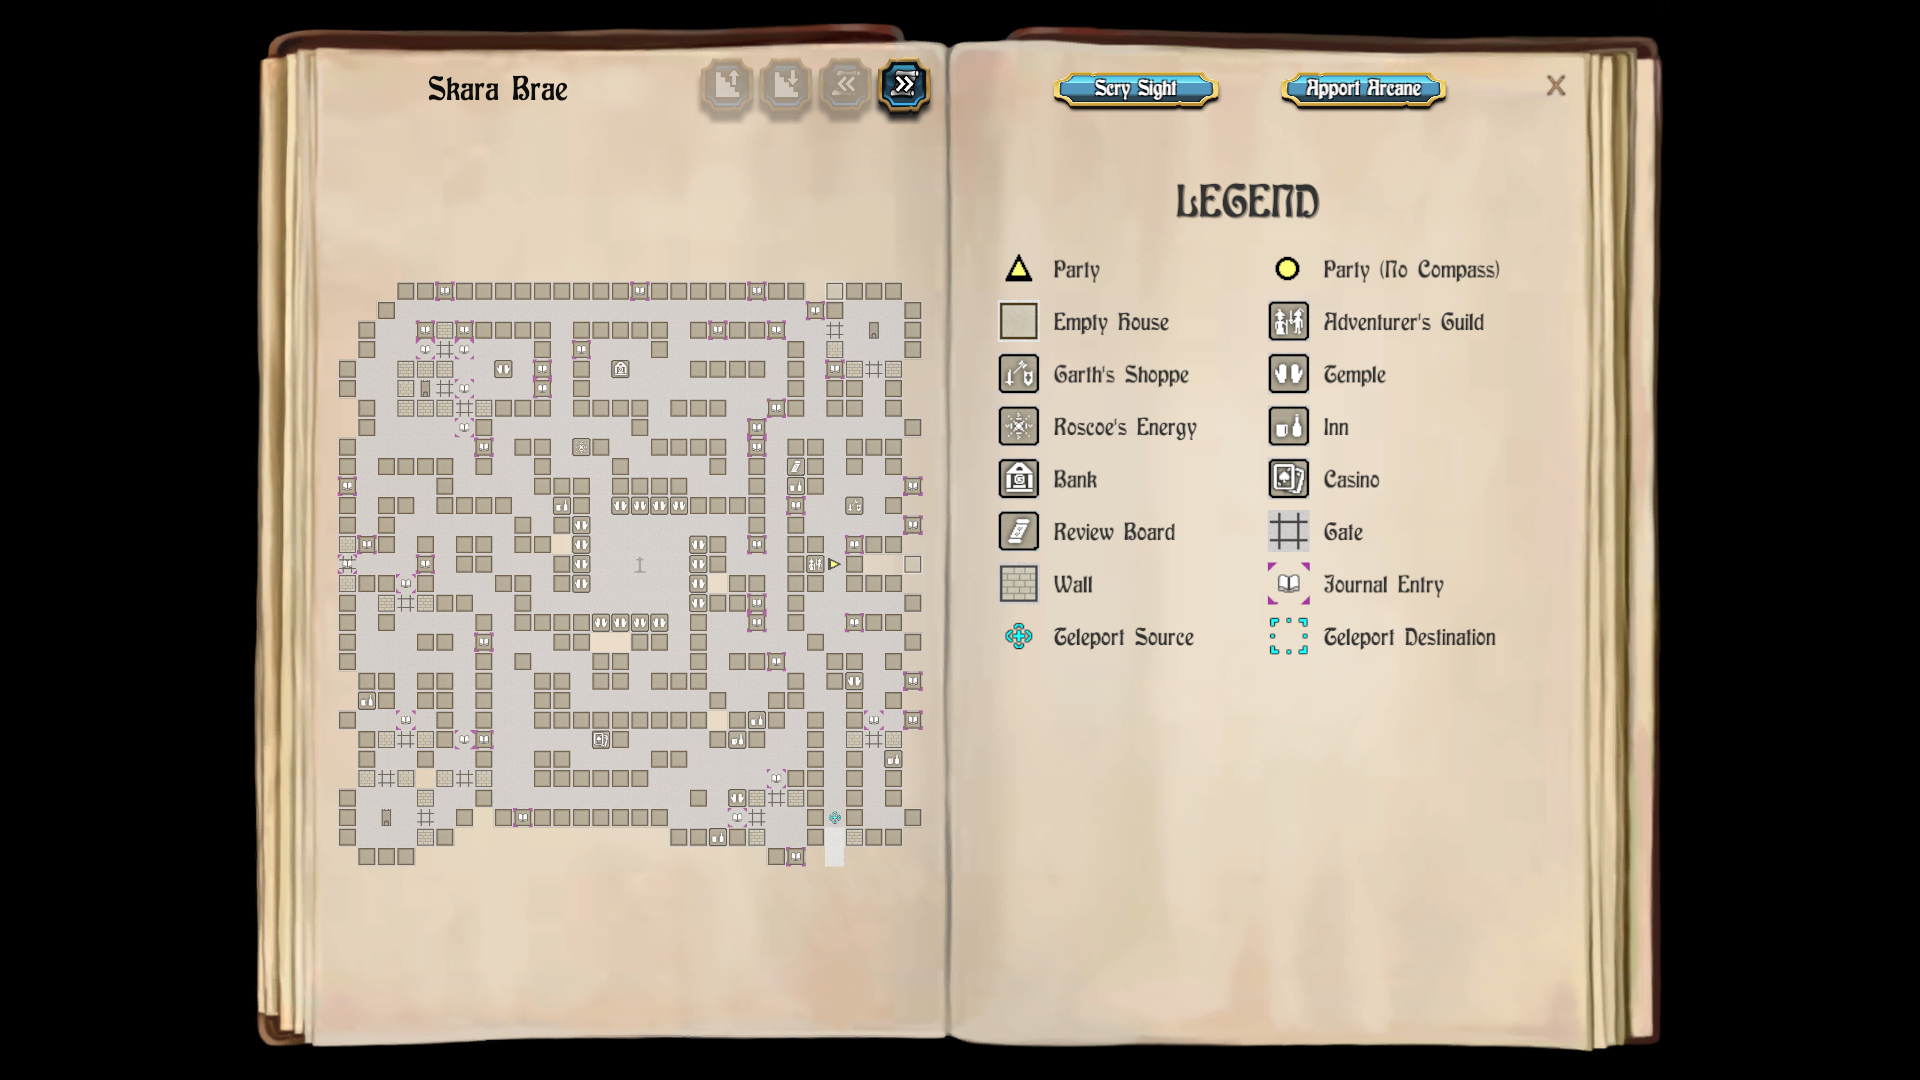
SKARA BRAE, DAY
My initial purpose when I start the game is to get my party members of their feet. That is to say, I want them to go up a few levels so that they can survive more than a single sword swing, learn a few spells, and gain some basic gold and equipment in the process. The monsters that appear during the day time in the city are relatively easy, although Barbarians and Skeletons should possibly be avoided by brand new 1st level characters for now.
I avoid going out in the city at night. Once a wolf howl is heard and the sun goes down, tougher monsters like Sorcerers, Wolves, Swordsmen, Half-Orcs, Zombies and Jade Monks come out. Once evening falls, I'll go back to the Adventurer's Guild to reset the time to morning.
It is only to after I've gone up a few levels that I take my grinding into the night time hours. The xp requirements for the next levels are increasing, and so the night time monsters provide more xp. That will be the subject of the next page.
Call to the Adventurers' Guild
Here's the introduction to the first game, along with the creation of my characters who will become the New Gods. Note that for the front-line types, I have emphasize Constitution to accumulate more Hit Points from the very beginning. For my back-rank spellcasters, I emphasized Intelligence to accumulate more Spell Points, and Constitution to accumulate more Hit Points, both from the very beginning. Of course, I'd like to get 20+ starting Hit Points for all characters, and 20+ starting Spell Points for the spell casters.
Garth's Equipment Shop
My party is practically naked, so now I go a few squares north and enter Garth's Equipment Shop. I purchase only a Dagger for Cassandra, since she stays in the backrow and only needs a weapon (any weapon) to instakill her target while she's hiding. I likewise buy only a Dagger for Ariel and Gallard, since their melee-attack damage isn't very important either.
I buy Short Swords for Lord Stygar and Zarathos. The damage difference between a Short Sword (1 to 8) and a Broad Sword (2 to 8) is negligible, whereas the immediate gold savings are significant.
I also buy Chain Mails, Helms and gloves (either Gauntlets or Leather Gloves depending on what class restrictions permit) for all of Lord Stygar, Zarathos, Gallard and Ariel. Cassandra gets a Leather Armor and Leather Gloves.
Bard's Harp
Now I show my first battle. I go to the two houses just north of the Review Board. I go back and forth into each house until I get a random monster encounter, a lone Dwarf. I manage to kill it through physical attacks without taking a scratch.
The battle gives me enough gold to fulfill another need. I purchase a Harp for Ariel from Garth's Shop. She'll obviously need an instrument to play her Bard songs.
Tower Shields
I go back to the same spot and go back and forth between houses to get another random fight. The next one is against three Mercenaries. The front three warriors go on the attack. Ariel plays Traveller's Tune to lower their AC. Cassandra goes into hiding. I continue the attack the next round, plus Talia casts Arc Fire on one of the Dwarves. I win, but took a little damage in the process.
I go to a Temple in the central plaza, and pay to have my wounds healed up. I then enter the Sinister Inn, which is just one square south of the Review Board. I buy a drink for Ariel to recoup her (at this point) single Bard song. The prices of the drink and the healing are easily exceeded by the gold won during the fight.
In fact, I still have enough gold afterwards to go to Garth's Shop and purchase two Tower Shields, one for Lord Stygar and one for Zarathos.
I house hunt some more, and get three Skeletons. I manage to outlast them. They happened to leave behind a Buckler as part of the loot, which Cassandra equips.
I again heal my wounds at the Temple, and buy Ariel a drink. I have enough gold left over to purchase two more Tower Shields, one for Gallard and one for Ariel.
Thus the starting grinding procedure becomes apparent. Bounce between houses till you get a random encounter, win it, buy a drink to recoup Bard Songs, and spend gold at a Temple to heal wounds. If all goes well, the expenditures will be easily exceeded by the gold you get after the battles.
Don't worry about Spell Points either at this point. They'll recoup naturally in sun light.
*NOTE* Even among the first enemies you face, some are tougher than others. The easiest monsters will include Hobbits, Gnomes, Kobolds and Thieves. Mid-tier will include Dwarves, Hobgoblins, Mad Dogs, Nomads, Spiders and Conjurers. The toughest of the earliest monsters will include Barbarians, Mercenaries, Orcs and Skeletons. Magicians aren't so much dangerous as a nuisance. They can age characters, which can be pretty expensive to deal with as only Temples can remove the condition.
Plate Armors and Scale Armor
I grind some more, and get one Plate Armor as a random drop. Lord Stygar gets that one. Grinding also leads to enough gold for two more Plate Armors for Zarathos and Gallard, and a Scale Armor for Ariel.
Halbards and Broadsword
Some more grinding and I get enough gold to purchase Halbards for Lord Stygar, Zarathos and Gallard, and a Broadsword for Ariel.
2nd Level
I do some more grinding. *Note* It's becoming night time, so I return to the Adventurer's Guild. Entering the Guild after it becomes 'dusk' and then entering the city will reset the time to 'early morning'. The reason for it is that quite tougher monsters come out at night, and 1st level characters aren't ready to handle those.
I grind some more until the spellcasters get the 900xp they need to advance to their 2nd levels of experience. For Talia and Mordred, I want decent amounts of both Hit Points and Spell Points. A bonus to Intelligence or Constitution or Luck is nice if I can get it as well.
I grind some more until I get to 1,000xp. Now I advance Lord Stygar, Zarathos, Gallard, Ariel and Cassandra, insisting on plenty of Hit Points for all of them. In Gallard's case, I also insist on a significant boost to his Critical Hit skill as well.
3rd Level
I grind until everyone gets to 2,000xp. I then go to the Review Board and advance everyone to their 3rd levels. Again, emphasize plenty of Hit Points and Spell Points, preferably with bonuses to Constitution (or Intelligence for the spellcasters).
Talia and Mordred reach their 3rd levels, and that means they have to each spend 1,000gp to learn 2nd-tier spells from both the Conjurer and Magician spellbooks respectively.
4th Level
Some new themes start to emerge in the battles. Talia will sometimes start with Freeze Foes on a large group of enemies to make them more vulnerable to getting hit. She now has Hand of Healing as a healing resource. Mordred will sometimes start with a Vorpal Plating on Lord Stygar, which will increase a Warrior's damage with each attack. That can sometimes mean more damage over the long haul in comparison to a low-level single-target spell.
At first, Talia and Mordred advance to their 4th levels. I grind to get the others to their 4th levels. As always, high Hit Points and Spell Points. Zarathos now gains another attack, which means that if he makes his attack roll he'll strike twice for damage.
5th Level
And I grind everyone to their 5th levels. For Gallard, it's now becoming important not just that he gets lots of Hit Points, but that he also pick up Critical Hit skill points during his level-ups as well. Lord Stygar now also has two attacks per round.
Talia and Mordred each spend 2,000gp to buy their next tier of spells. Mordred acquires his first spell that can damage a whole group of enemies at once, Starflare. It has full effect up to 40', and half damage at ranges 50' to 80'.
He also acquires a few defensive spells. One is Ybarra's Mystic Shield, which lasts a long time (outside of combat) and provides a 2 point improvement to Armor Class. The other is Mithral Might, which also improves Armor Class but only during combat. The spells will stack with each other and with Ariel's Traveller's Tune.
Talia acquires a group-damage spell of her own, War Strike, but it has a limited range of 20'. She also acquires some utility spells like Levitation, and Lesser Revelation (a light source).
7th Level
Over time I grind enough to get everyone to their 7th levels. Talia and Mordred each pay 4,000gp to acquire 4th-tier spells in their classes.
The key acquisition for Talia is Flesh Restore, which not only heals an individual party member of up to 24 Hit Points, but cures Insanity and Poisoning as well.
Mordred acquires two more offensive options. One is Dragon's Breath, which will inflict fire damage on a group with 30' range. The other is Spectre Touch, which can inflict up to 60 points damage on a single-target, up to a range of 60'.
I have gone up a few levels and have gotten some basic equipment, so now I'm willing to venture into the city out at night.