-

- Forums
- Chatrooms
- Gallery
- Gameplay Videos
- Upload
- Articles
- Mod Reviews
- Shop SP: Games, Movies, Books
|
|
| Pillars of Eternity 2 Video-Based Walkthrough by David Milward |
Ashen Maw
*Evil* Ashen Maw
I switch out Tekehu for Eder before entering the Ashen Maw.
Eder takes Weapon Mastery with his 20th level-up, which adds another 5% Damage with Amra.
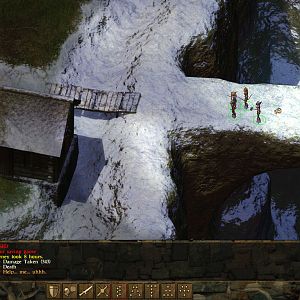
There is a small Troll at #2 named Grog who can be taken as a Pet. It can be a useful Pet, as it provides immunity to Engagement but with the risk that any character who gets knocked unconscious dies permanently then and there. It can come into play against certain enemies, such as one of the four Mega-Bosses. But I ended up not needing it.
Zarathos murders the wounded Rathun at #3, before entering the Sentinel Wall at #4. *Good* Alliria gives him poison as an act of mercy. It costs a Sapphire, but by now I have more than enough for my needs.
Sentinel Wall
I start off at #1 on the map of the Sentinel Wall. I go to the left, and grab Gauntlets of Reliability from #2.
I also get the Ashen Key from #3, which I use to open the door at #4.
A group of Rathun will at #5. Alliria makes a Metaphysics check of 5 to avoid a fight. An Insight check of 5 or a Religion check of 5 would have worked too.
I go down the stairs at #6.
*Evil* Sentinel Wall
The evil party of course makes a point of slaughtering any Rathun they come across.
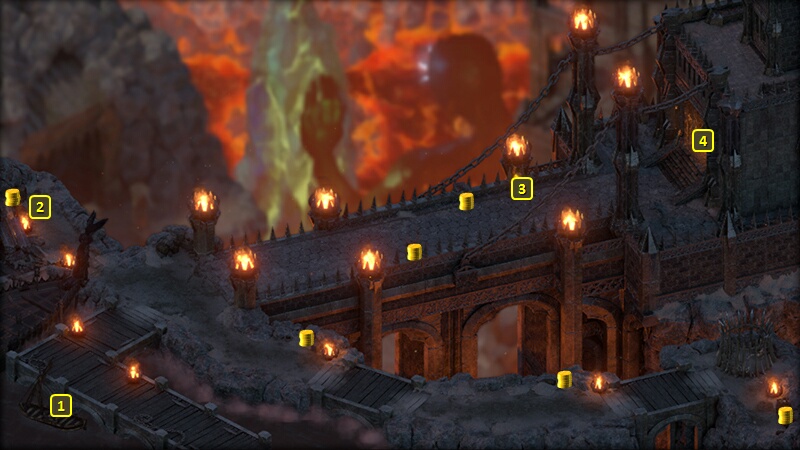
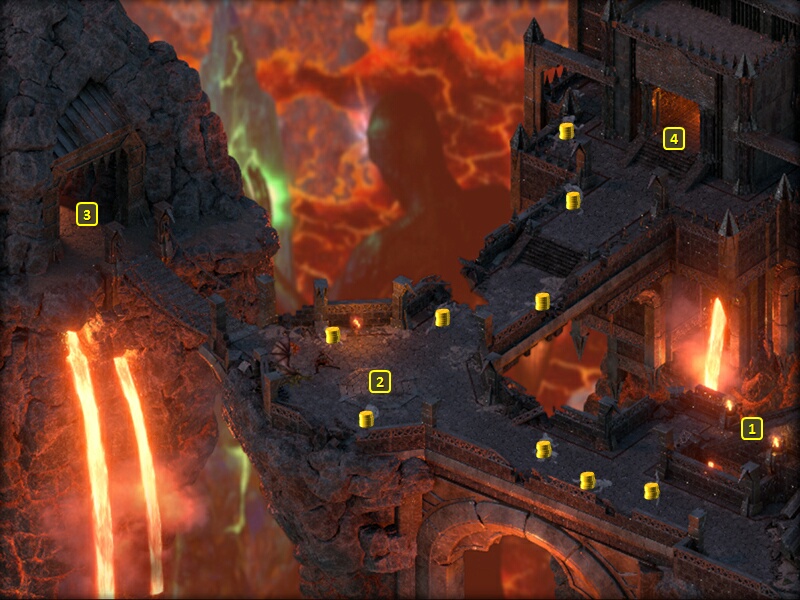
Ashen Bridge
I start off at #1 on the map of the Ashen Bridge. I "Wait" until Evening and then have Alliria switch to Ninagauth's Teachings.
I go west to #2 and fight a trio of Drakes, along with several Fire Bats and Flame Blights. I wipe them out by spamming Ninagauth's Shadowflame and Stunning Surges. I prefer to do it this way since as fire-based creatures they'll be vulnerable to Freezing Damage.
I continue west and through the door at #3.
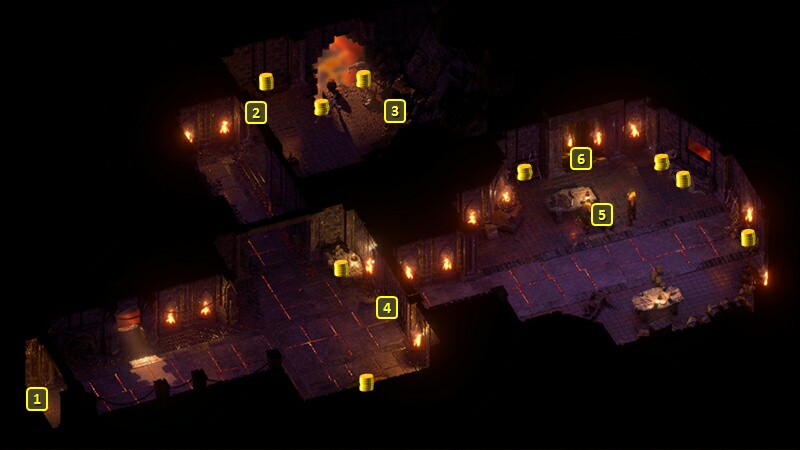
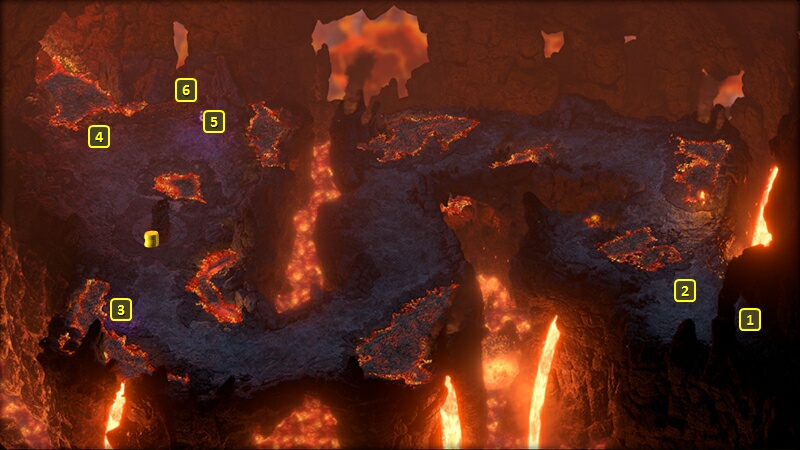
Lair of the Ancient
I start off at #1 on the map of the Lair of the Ancient. I easily beat a few Magma Oozes, Fire Bats and Flame Blights at #2.
A dead Rathun will be at #3. Alliria uses her Watcher powers to communicate with its soul, and learns that there was an attempt to summon a dragon to fight against Eothas only for the dragon to kill her summoners.
I now prepare for the next fight. Alliria switches over to Modwyr and The Eye of Wael. She also switches to the Iron-Clasped Grimoire. I also change pets for the time being, from Sky Dragon Wurm to Concelhaut's Skull. Mirke switches to her secondary gun set.
I go north and encounter the Magma Dragon known as Jadaferlas the Ancient at #4. You can resolve matters peacefully. It begins with any one of a Resolve check of 11, a Bluff check of 8, or a Diplomacy check of 8. You can then follow up with any one of a Resolve check of 16, a Survival check of 14, a Religion check of 14, having 2 points of Honest disposition, or an Intimidate check of 8.
You'll have more than one option after making the two checks. One is to ask her to help you against Eothas. She'll remain in her lair, but let you loot the nearby items. The other option is to convince that Magran is about to cause the volcano to erupt, convincing her to fly and leave altogether.
But I just choose to fight her straightaway. She can be a tough opponent, even for 20th level parties. Her fiery breath can cause Injuries on the Path of the Damned setting. She also periodically summons Magma Oozes to help her.
But I actually make this fight very easy. The rest of the party focuses on taking out the Magma Oozes one at a time. Alliria begins with Infuse with Vital Essence followed by Blood Sacrifice. She then casts Concelhaut's Crushing Doom on Jadaferlas. She uses Blood Sacrifice. If it doesn't recoup her 7th-tier spell, she keeps doing it again and again until she gets that 7th-tier spell back. When she does get it back, she casts Crushing Doom again on the dragon.
Concelhaut's Crushing Doom is an Illusion spell, so it gains +2 Power Levels through The Eye of Wael. It's also a Concelhaut's spell, so it gains another +1 to Power Levels from Concelhaut's Skull. More Power Levels means more Accuracy. And more Accuracy for Crushing Doom means it's more likely to Prone the target. And multiple Crushing Dooms on Jadaferlas by rinsing and repeating through Blood Sacrifice means she's well and truly helpless, and can't do anything because she's always getting knocked Prone. It's only a matter of time before I end her life.
She leaves behind a Magma Dragon Gizzard Stone. It can be used to upgrade any item's enchantment level from Superb to Legendary. I use it to upgrade The Twin Eels wielded by Xoti from Superb to Legendary. Doing that for a two-handed weapon through the Magma Dragon Gizzard Stone avoids having to spend 4 Adra Ban and 4 Emeralds.
A dead Rathun Priestess will be at #5. Alliria uses her Watcher powers to see its memories of her trying to summon Jadaferlas against Eothas, only for the dragon to slaughter her summoners. She also takes the Torc of Bithakten from the corpse, which she'll need for the Quest called He Waits in Fire.
A couple of urns at #6 have the Aldriss Blade of Captain Crow and Ajamuut's Stalking Cloak.
Xoti equips Ajamuut's Stalking Cloak. It adds +1 Perception and +2 Stealth. It also adds +5% Damage to Attacks made from Stealth, and +5 Accuracy to Attacks made from Stealth. Attacks made from Stealth also Stun their targets. The reason Xoti equips it is that a Monk will be Invisible while whisking from target to target during Whispers of the Wind. The Cloak makes Whispers in the Wind that much more powerful, especially as it amounts to an attack sequence that will rapidly Stun multiple enemies.
Xoti still keeps Rekvu's Scorched Cloak in her personal stash, in case I need her for any fire-intense fights as it were.
I go back out the door at #1.
*Evil* Lair of the Ancient
The evil party outlasts Jadaferlas and her Magma Oozes with the Salvation of Time-Ancestor's Memory loop. But it isn't risk free. Eder got an injury from one of the Dragon's attacks, so he had to consume a Luminous Adra Potion afterwards.
I use the Magma Dragon Gizzard Stone to raise Ydwin's Watershaper's Focus from Superb to Legendary.
Eder gets Ajamuut's Stalking Cloak in the evil party. Its bonuses will apply to attacks he makes after using Shadow Step, or after the Invisibility from his Slippers of the Assassin triggers.
I likewise go back out the door at #1.
That brings me back to the door at #3 on the map of the Ashen Bridge. I go to the door at #4, which is the entrance to the Jagged Keep.